Adventure Life Decal DIY Instructions
Check out the instructions below for a step-by-step guide on how to apply your decals on your own.
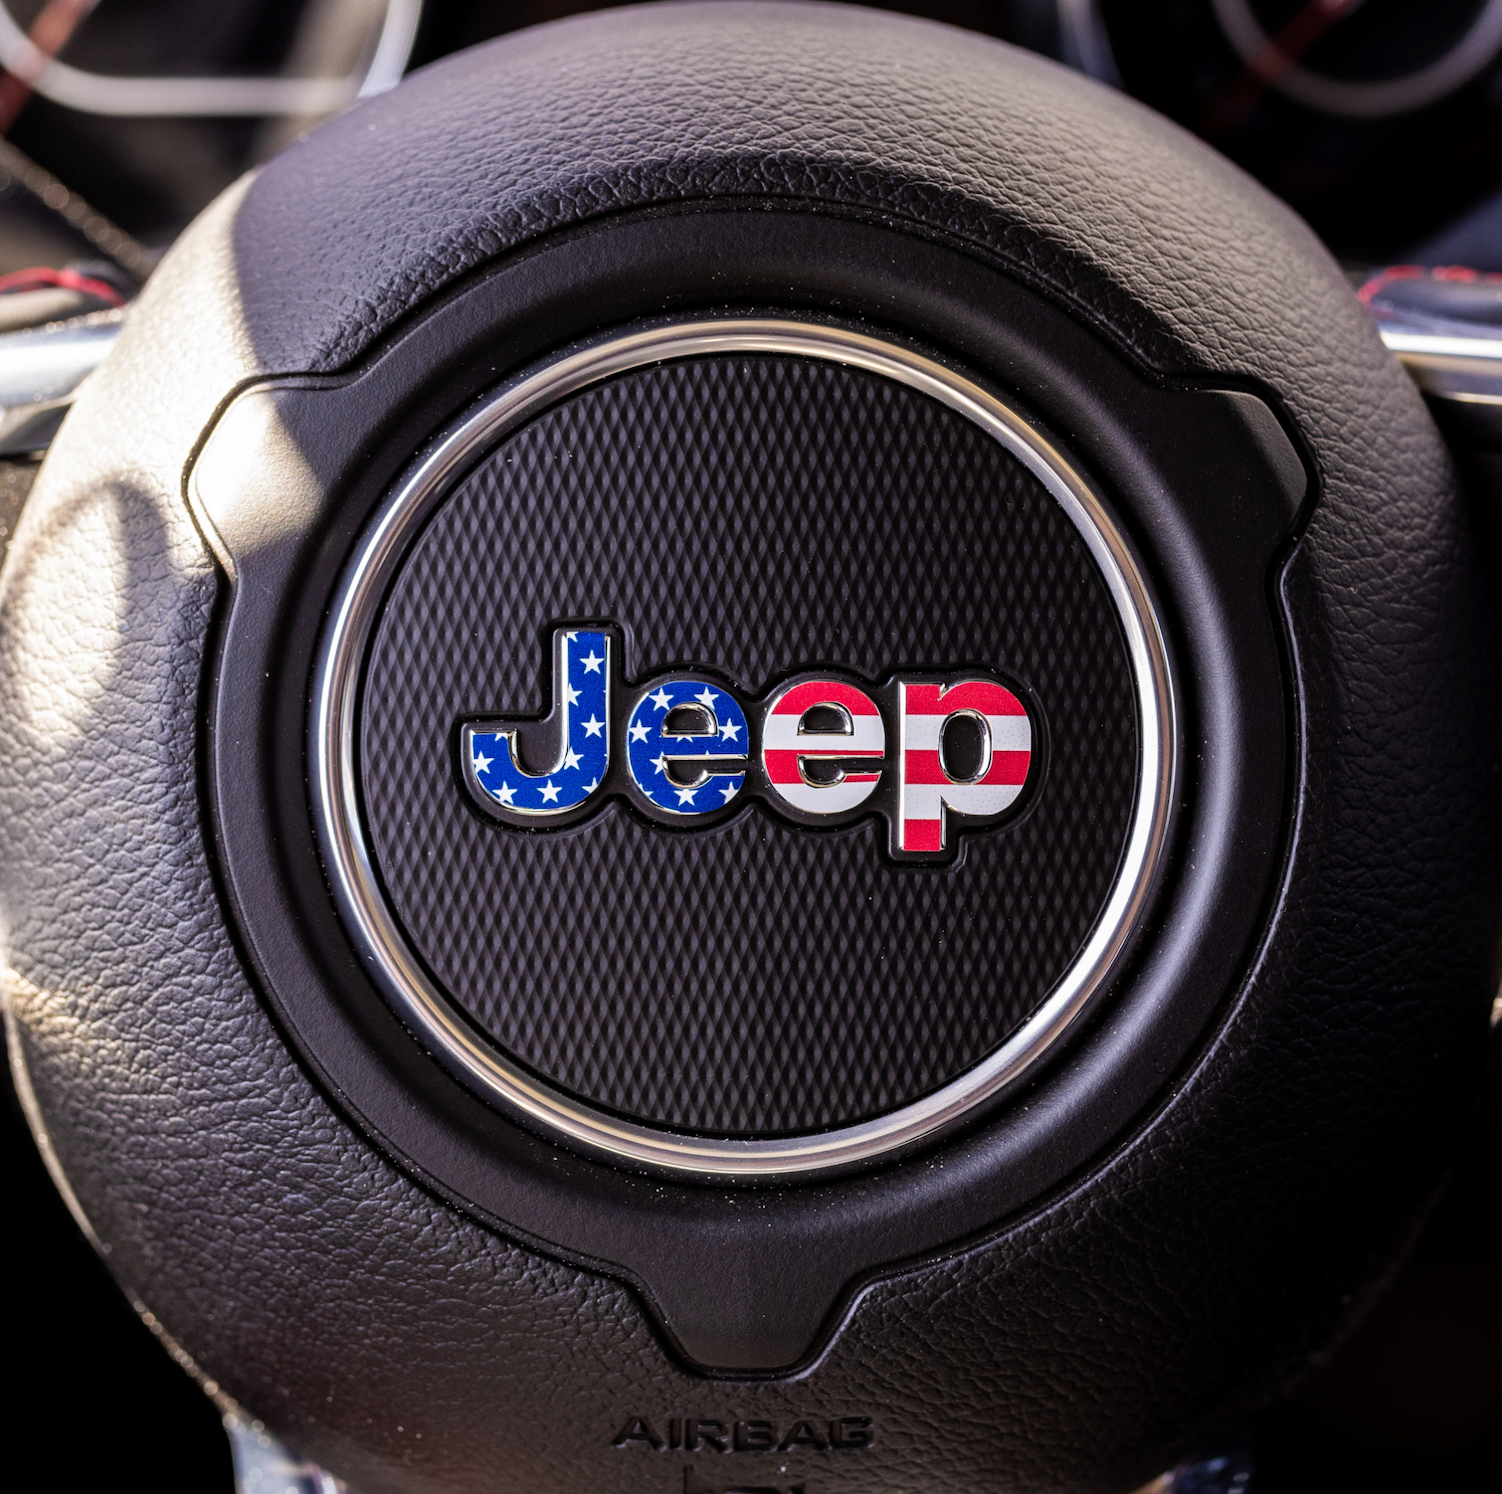
STEERING WHEEL CIRCLE & RECTANGLE DECALS for Jeep
* Minimum application temperature +40°F * Applied decal temperature range -40°F to +180°F
Steps:
1. Peel the decal from the paper backing. It helps to fold the paper away from the decal.
2. Align the top of the decal.
3. Align the bottom of the decal.
4. (optional) Peel back and re-position if necessary.
5. Press the decal down once in place.
Steps:
1. Peel the decal from the paper backing. It helps to fold the paper away from the decal.
2. Align the top of the decal.
3. Align the bottom of the decal.
4. (optional) Peel back and re-position if necessary.
5. Press the decal down once in place.
STEERING WHEEL RING OVERLAY for Jeep
* Minimum application temperature +40°F * Applied decal temperature range -40°F to +180°F
Takes Under 5 minutes
Quick Install Steps:
1. Clean the chrom ring with alcohol
2. Peel backing and align from the top
3. Press firmly around the ring
4. Slowing peel back transfer tape, being sure not to lift the overlay
5. Press the overlay down around the inside and outside edges of your steering wheel ring.
Takes Under 5 minutes
Quick Install Steps:
Quick Install Steps:
1. Clean the chrom ring with alcohol
2. Peel backing and align from the top
3. Press firmly around the ring
4. Slowing peel back transfer tape, being sure not to lift the overlay
5. Press the overlay down around the inside and outside edges of your steering wheel ring.
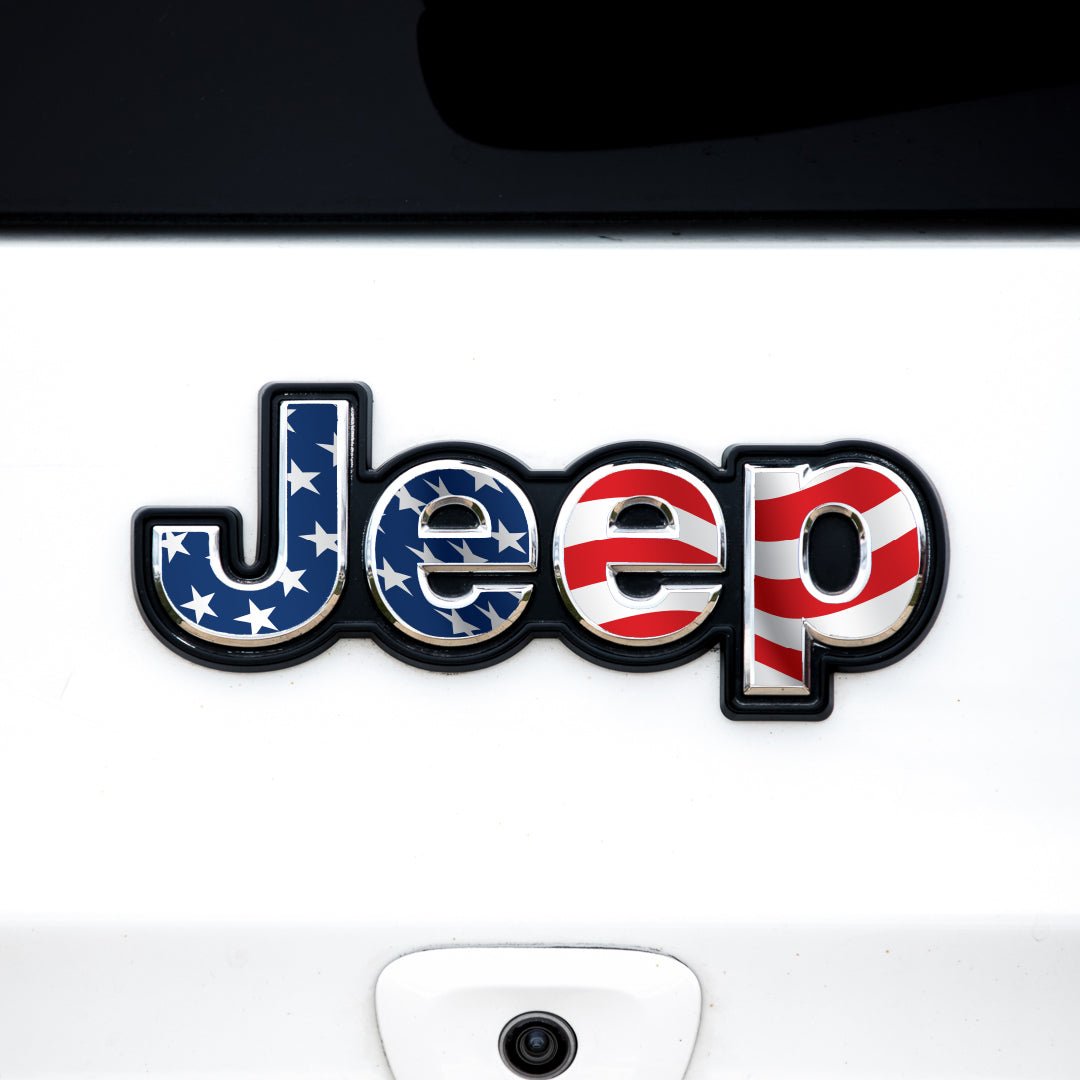
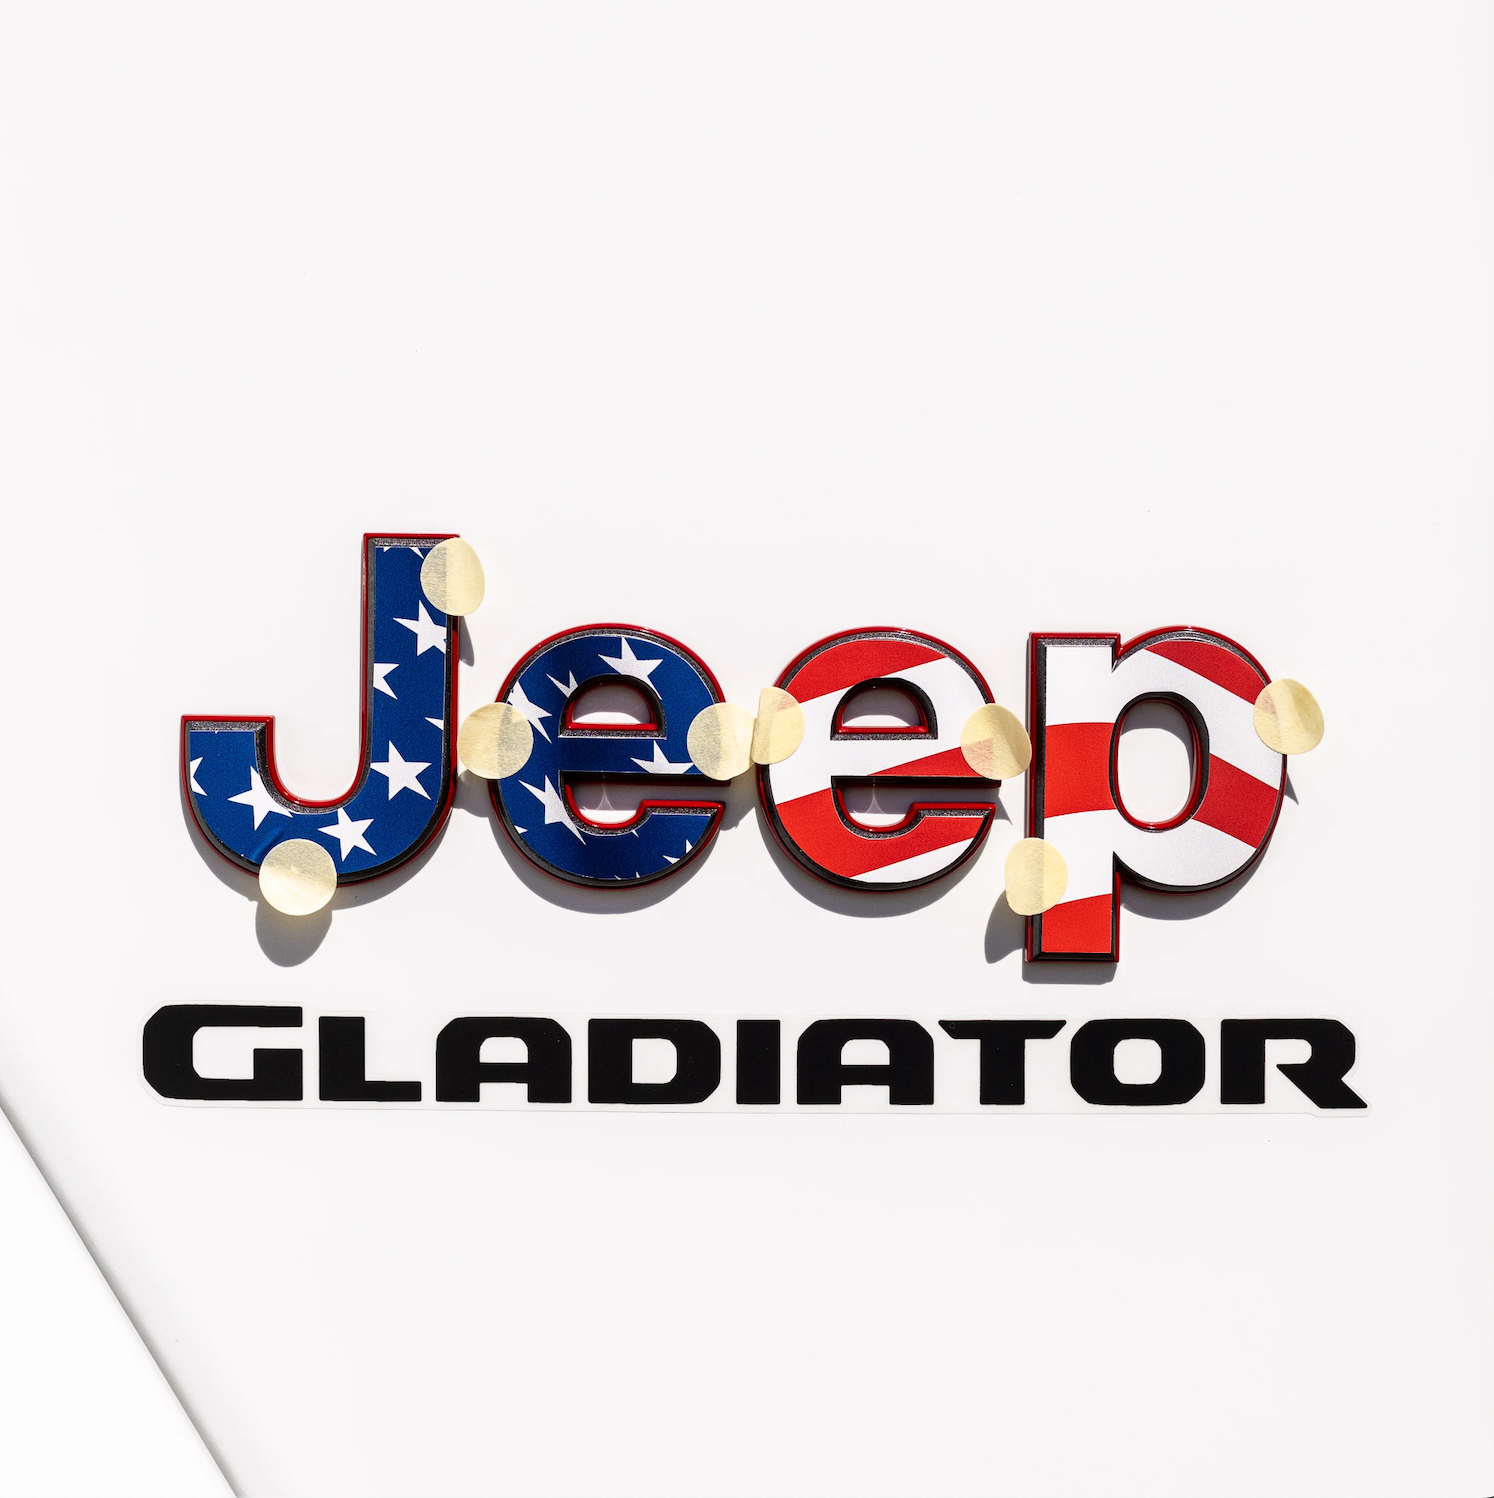
EMBLEM OVERLAYSTransfer Tape
* Minimum application temperature +40°F * Applied decal temperature range -40°F to +180°F
Steps:
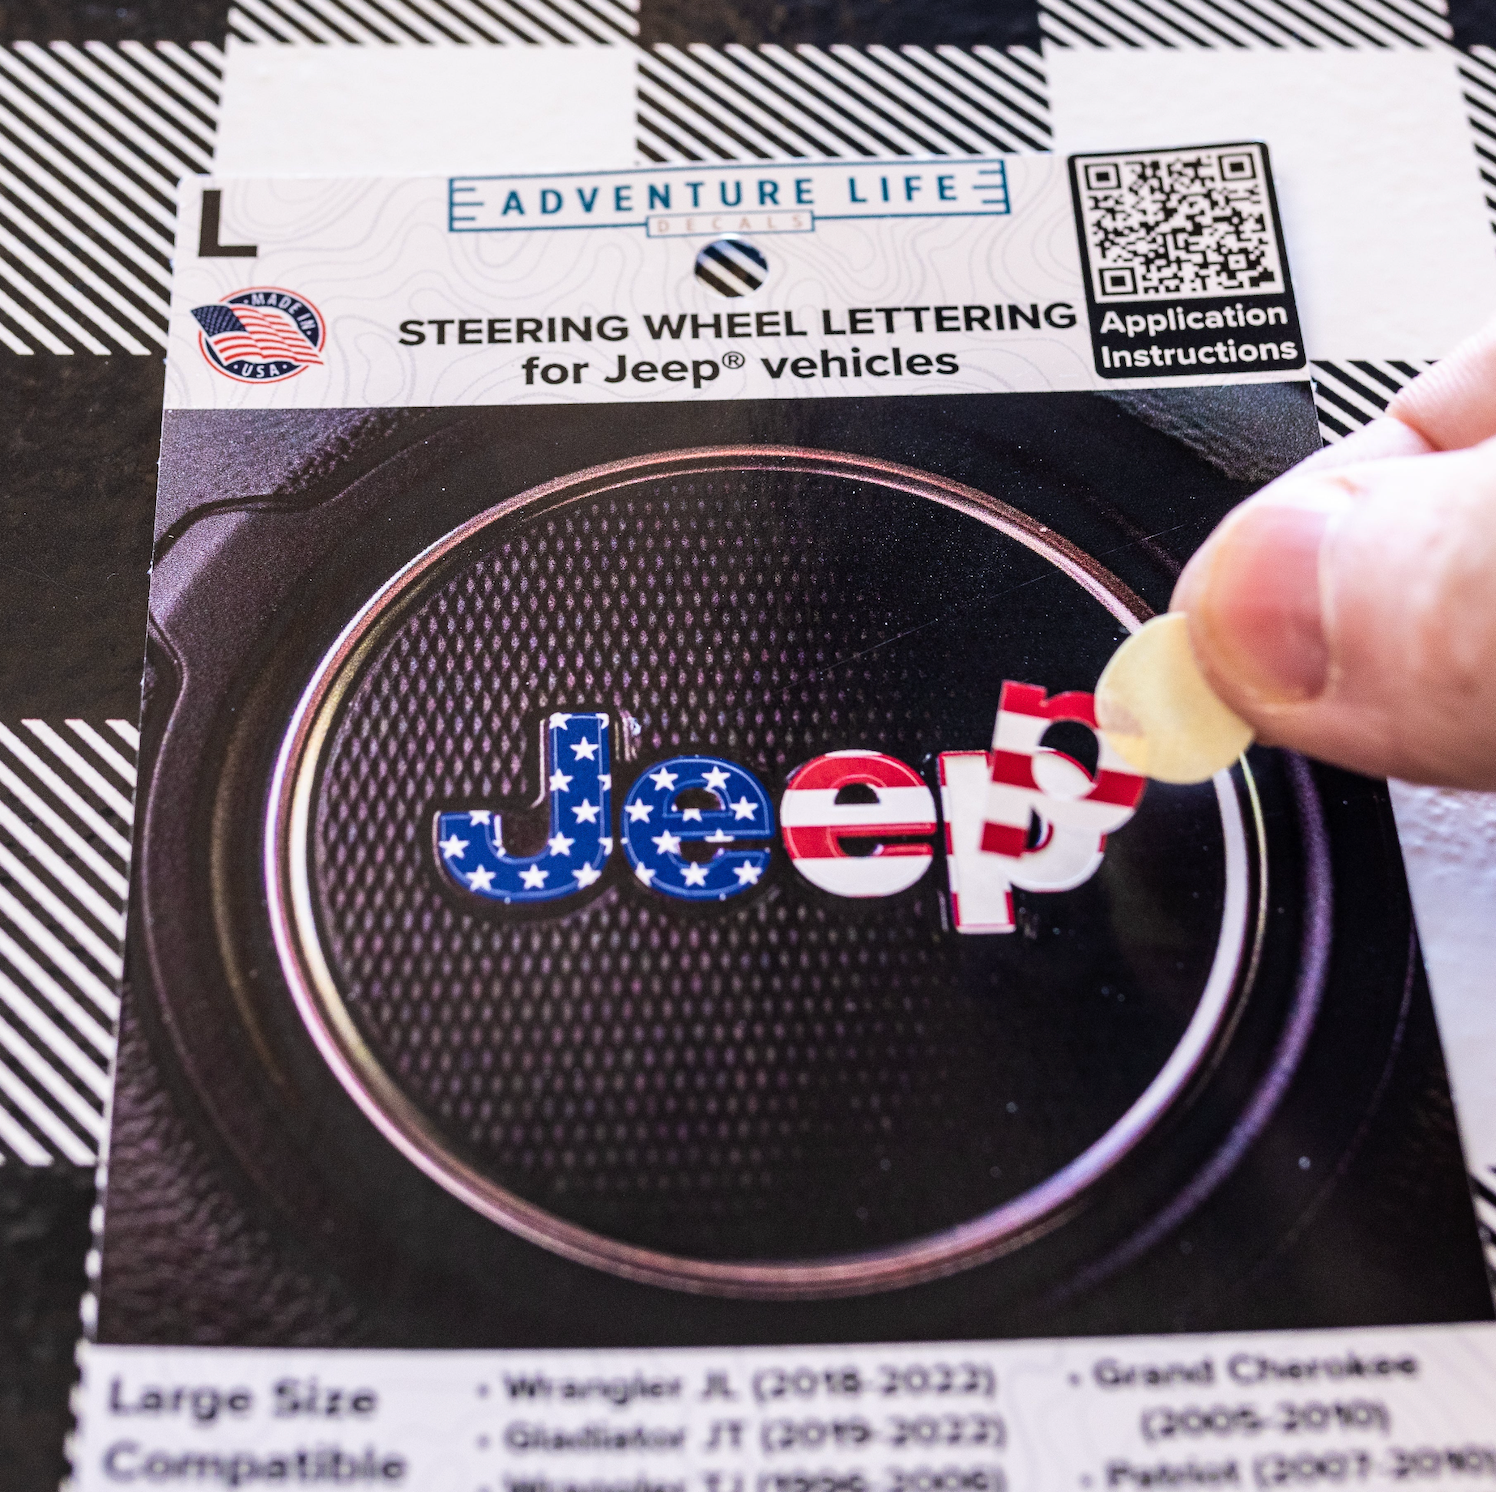
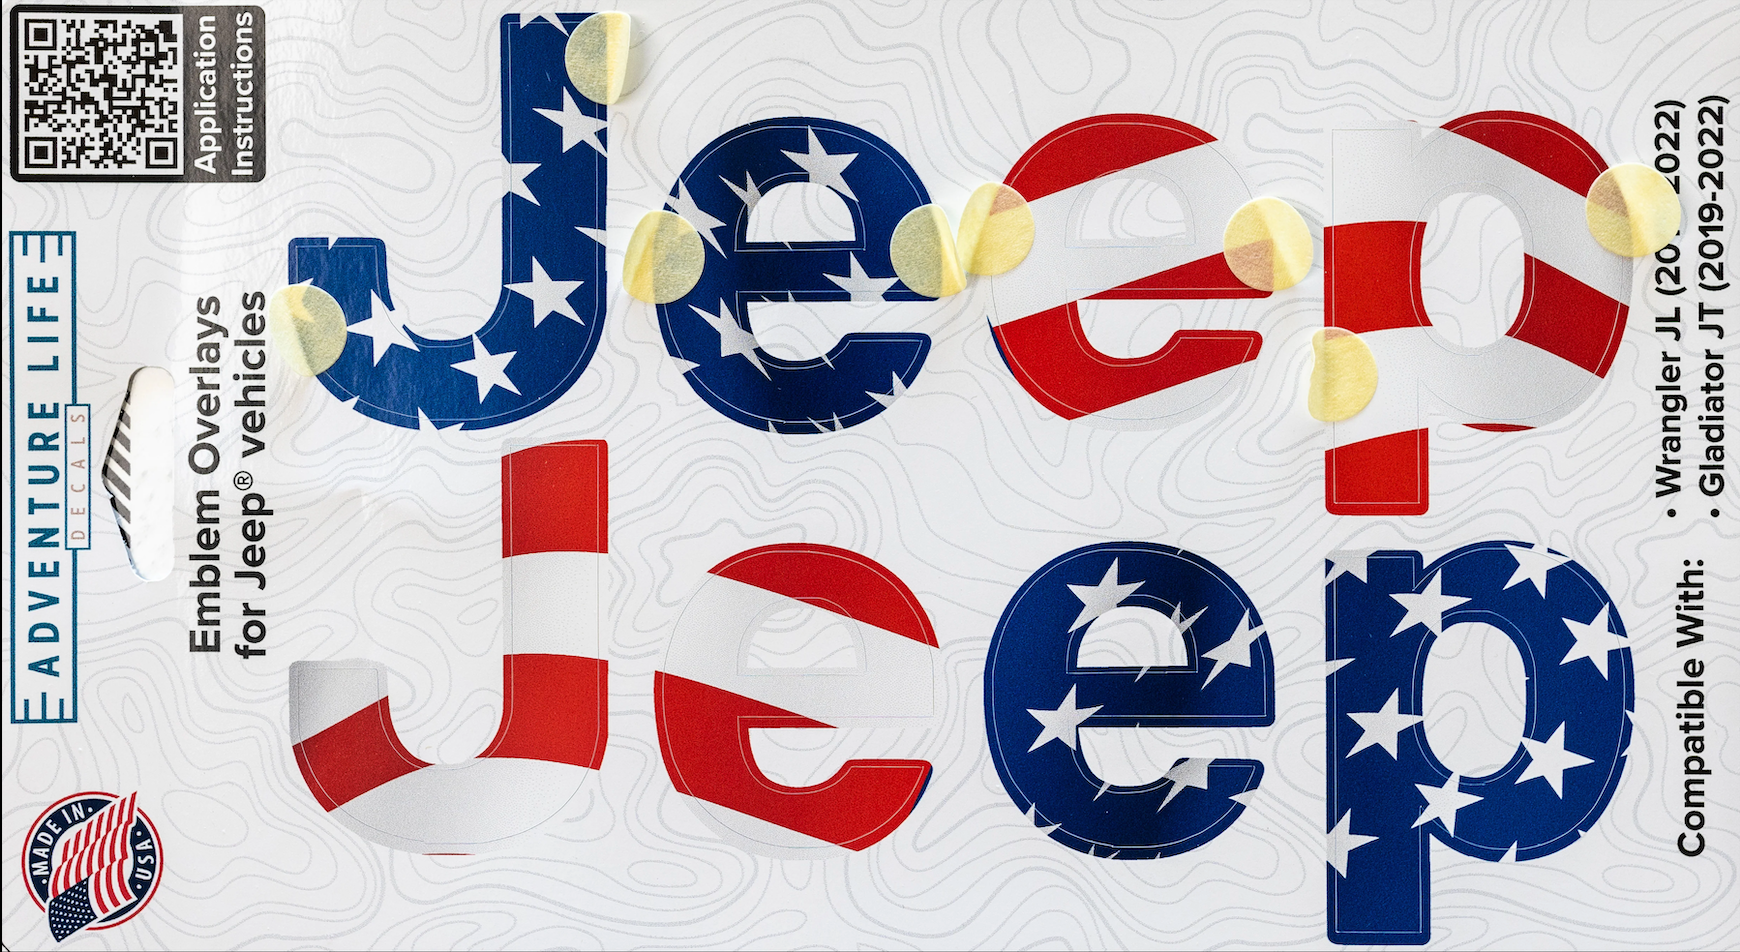
1. Separate the letters by cutting between them to apply one letter at a time.
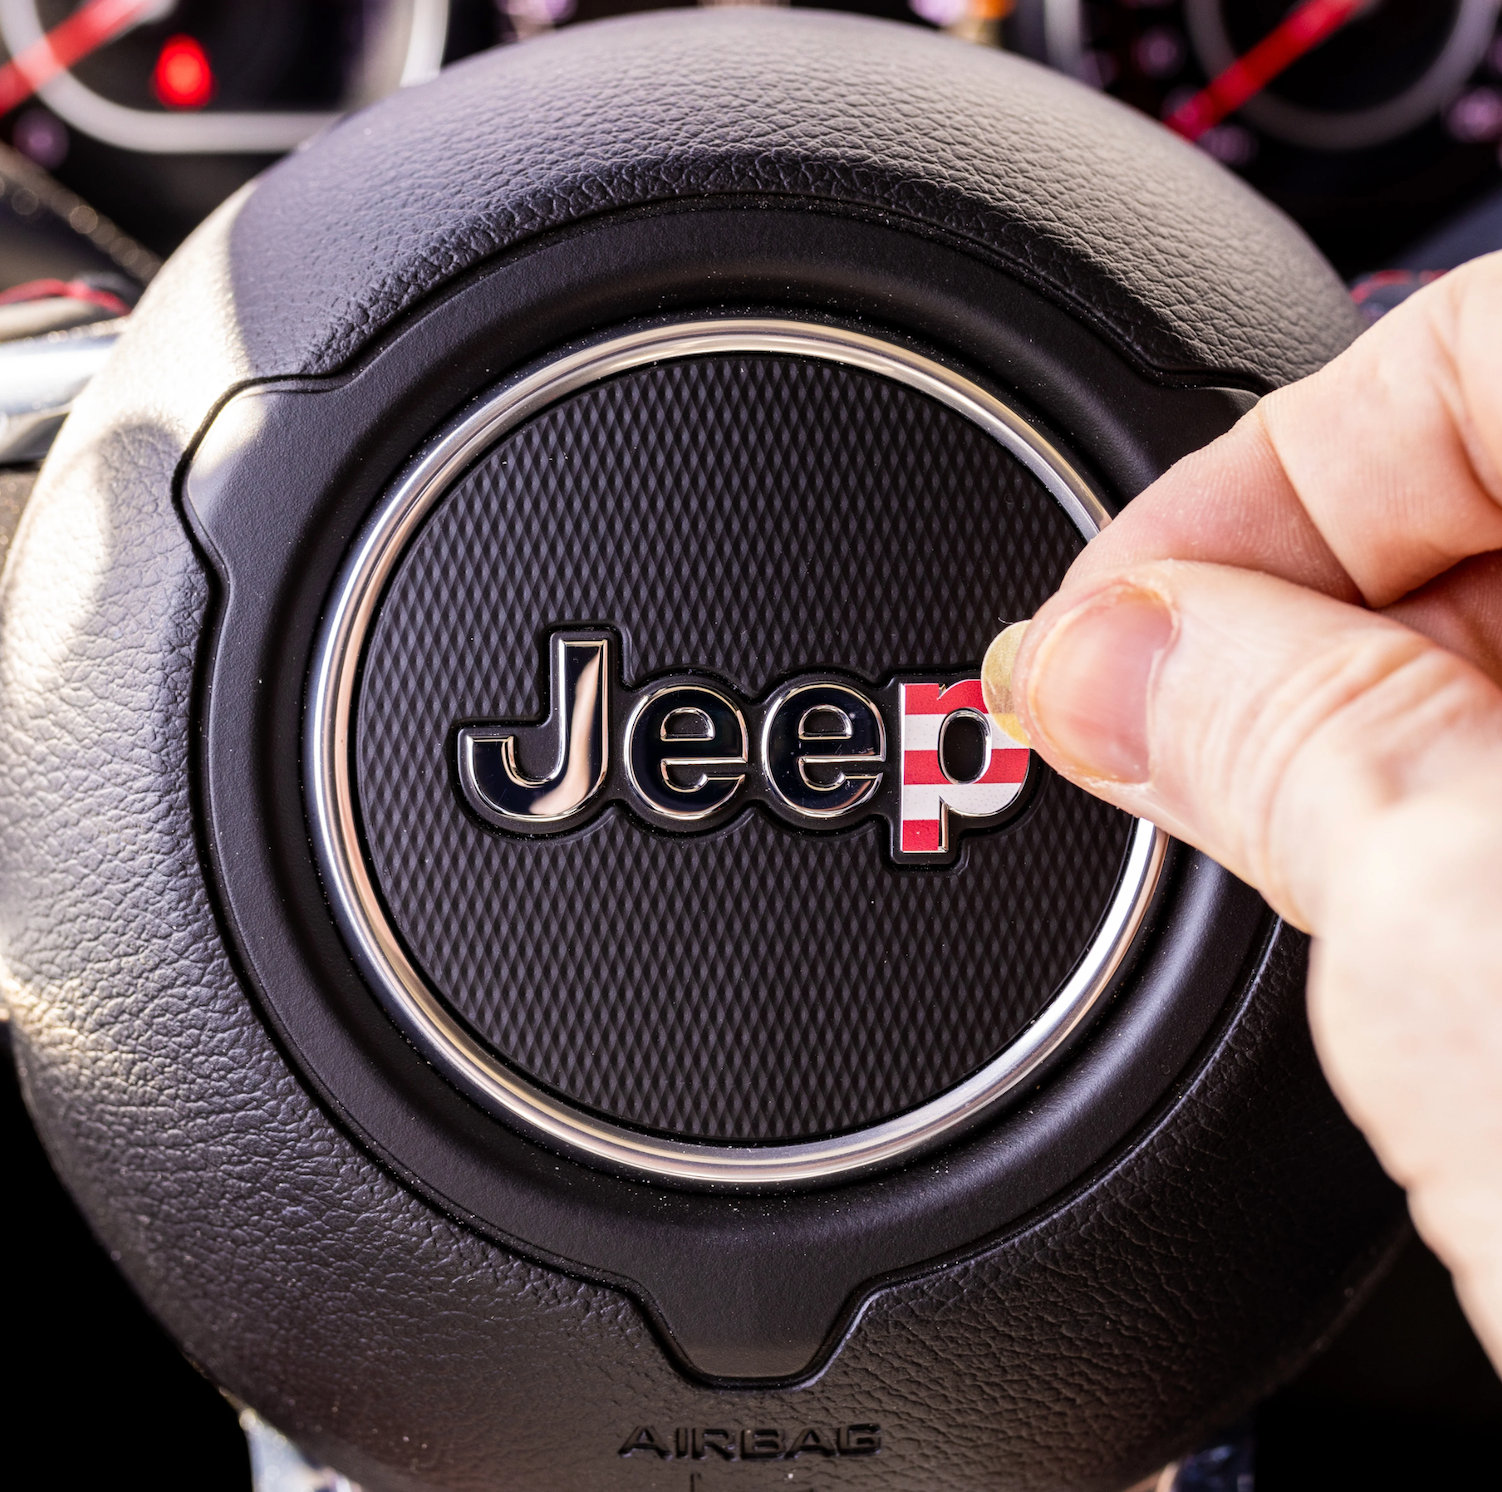
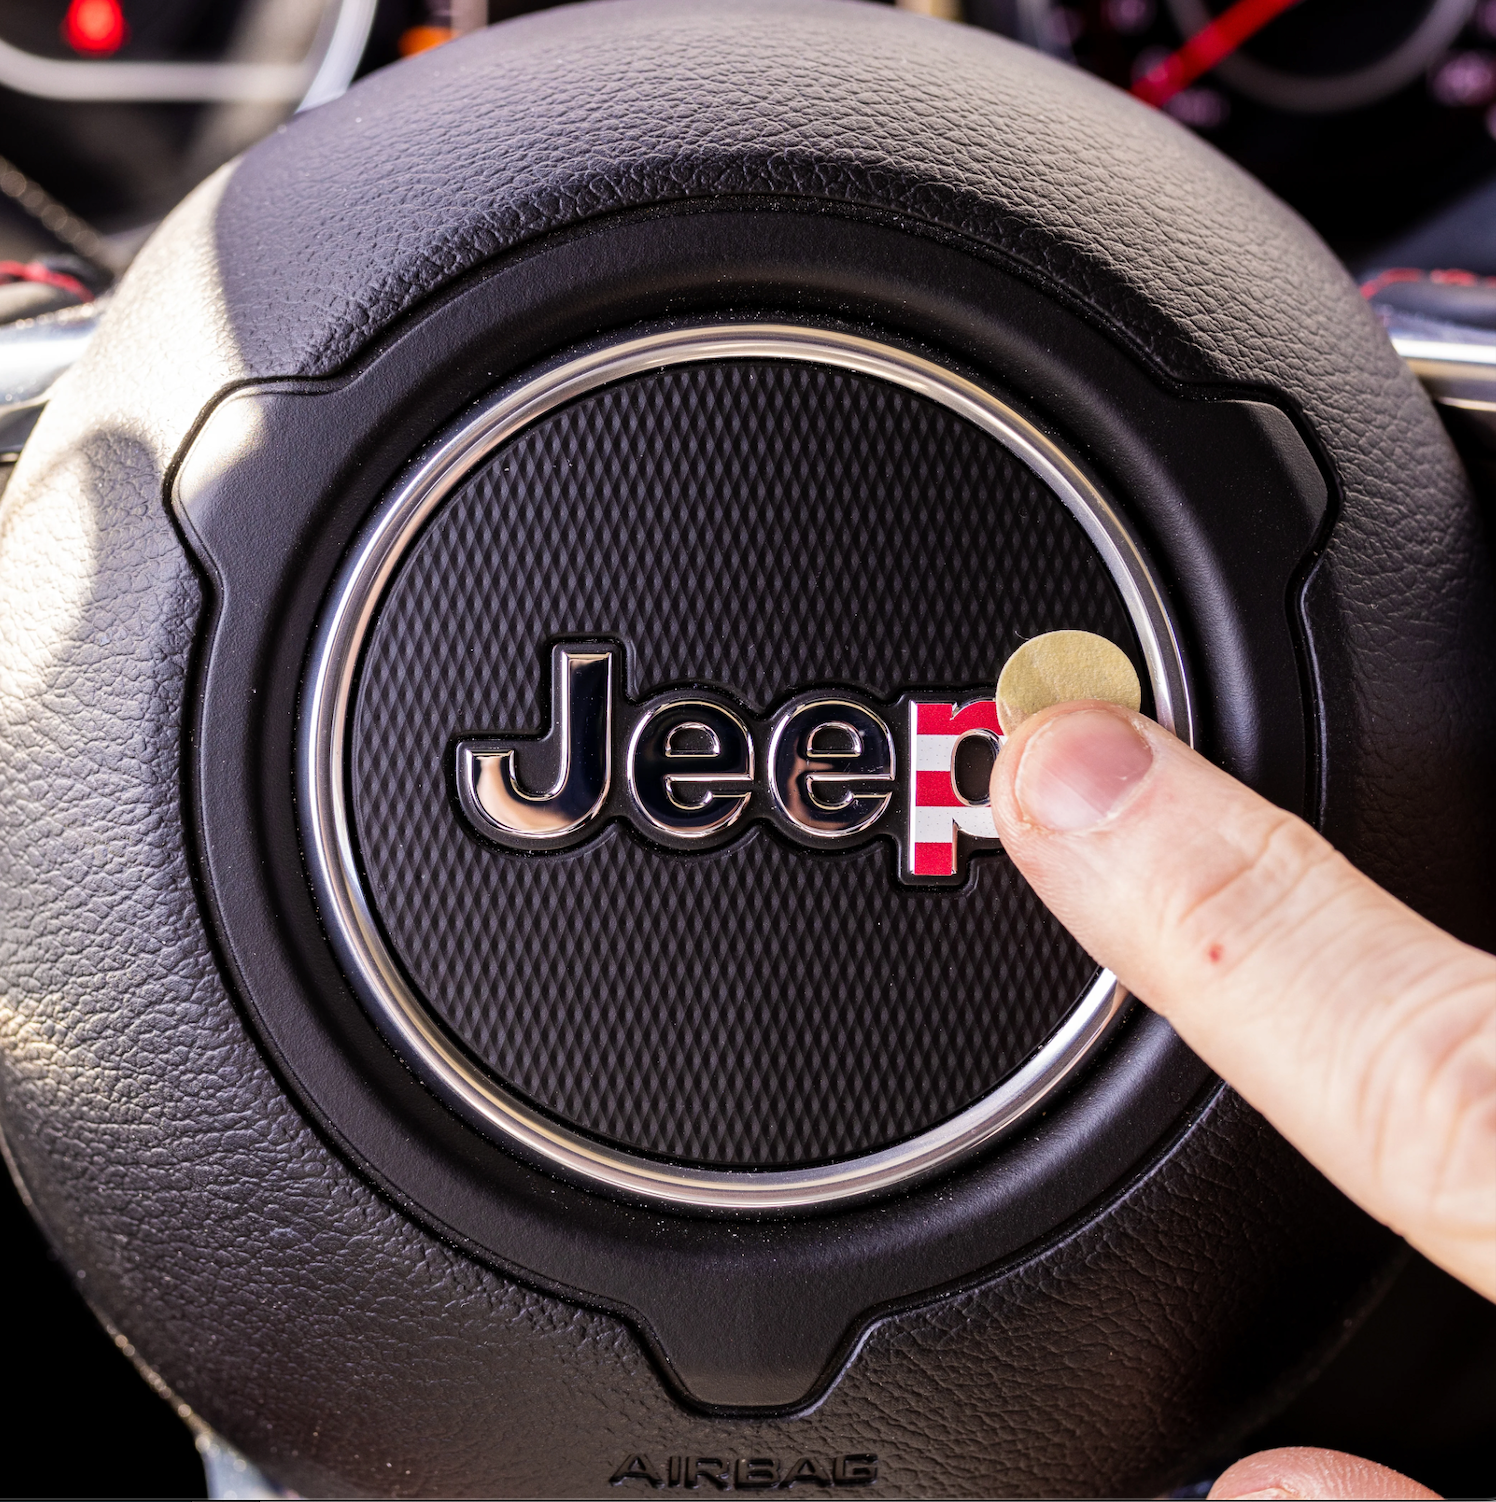
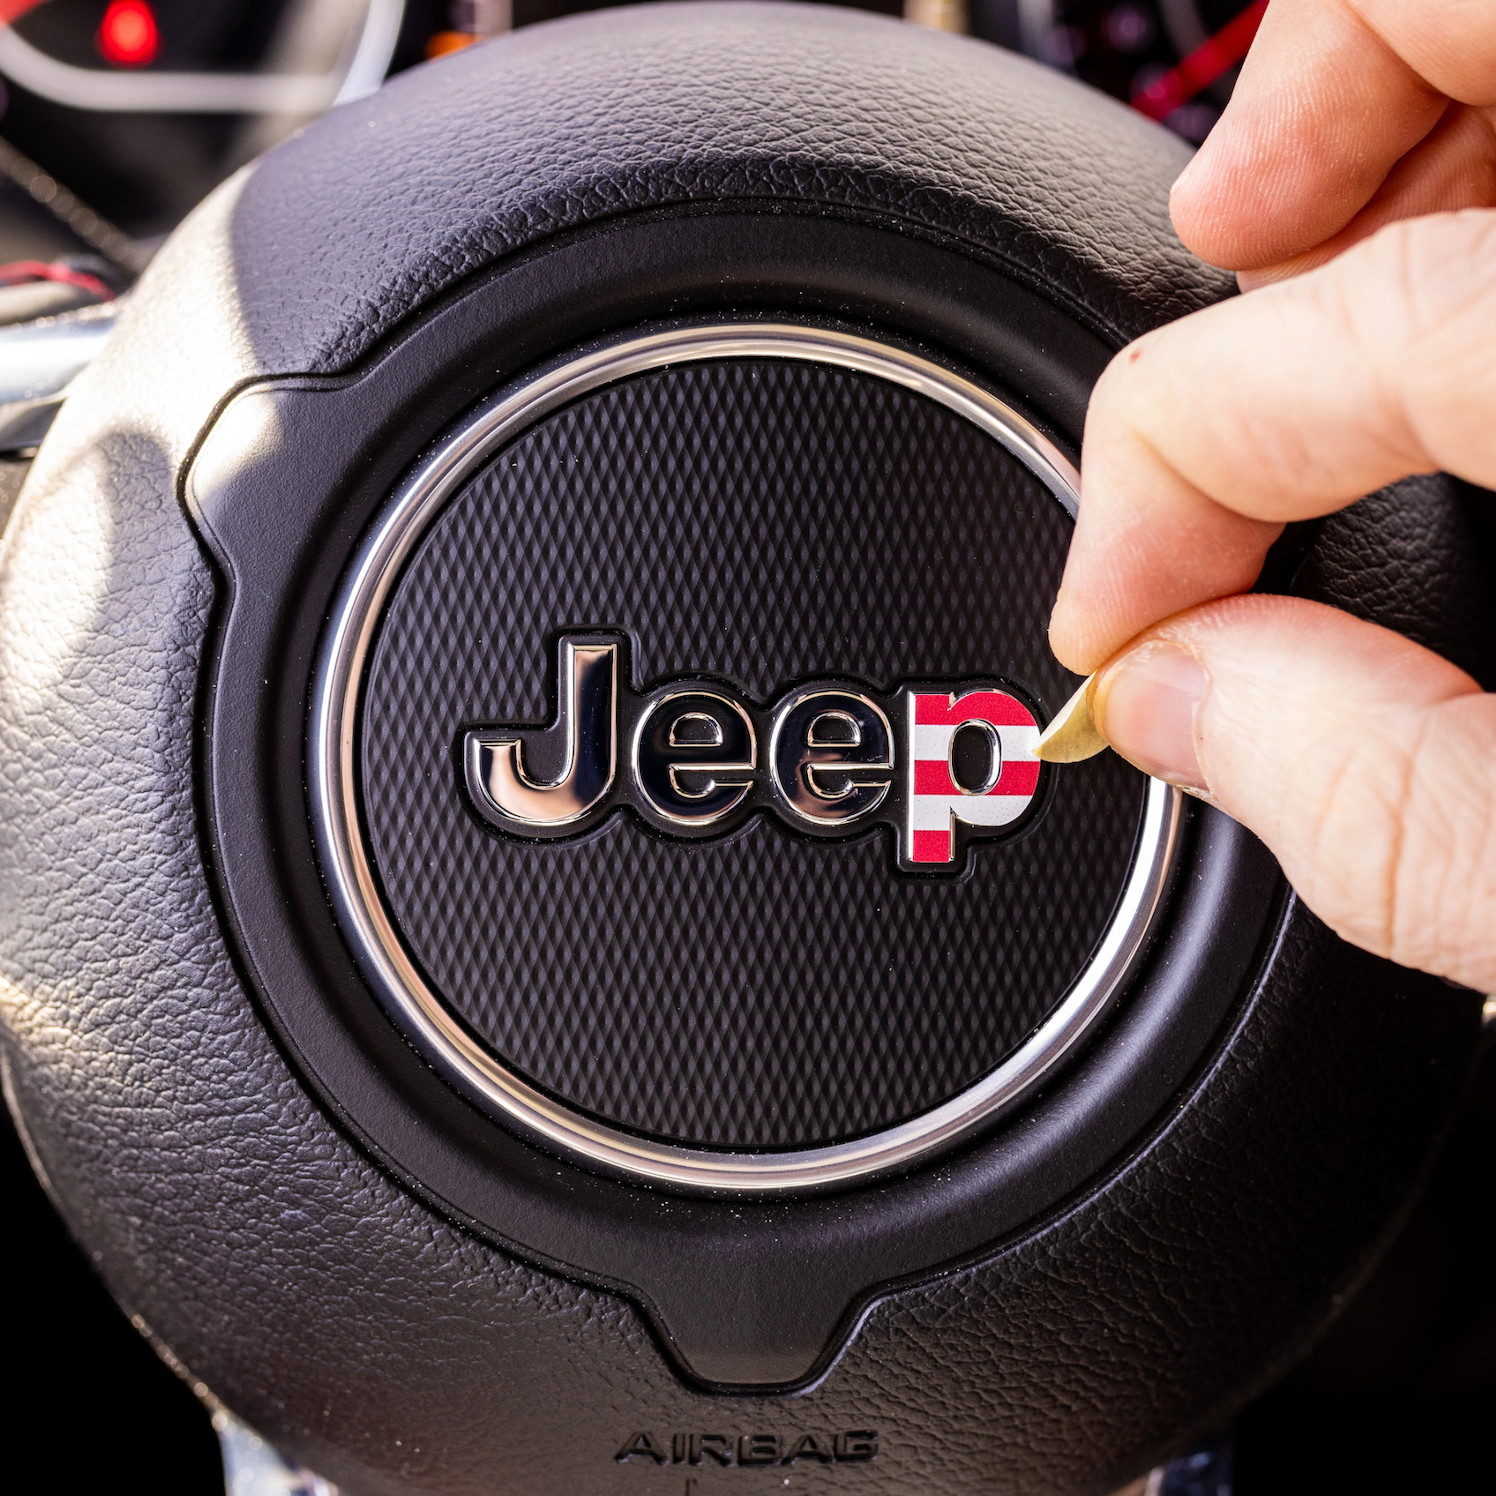
2. Peel the clear transfer tape with the decal away from the paper backing. 3. Align the letter on the emblem. 4. Apply the letter and press down firmly. 5. Remove the clear transfer tape layer, leaving the decal applied to the emblem.
6. Repeat Steps 2-5 for each letter.
Steps:
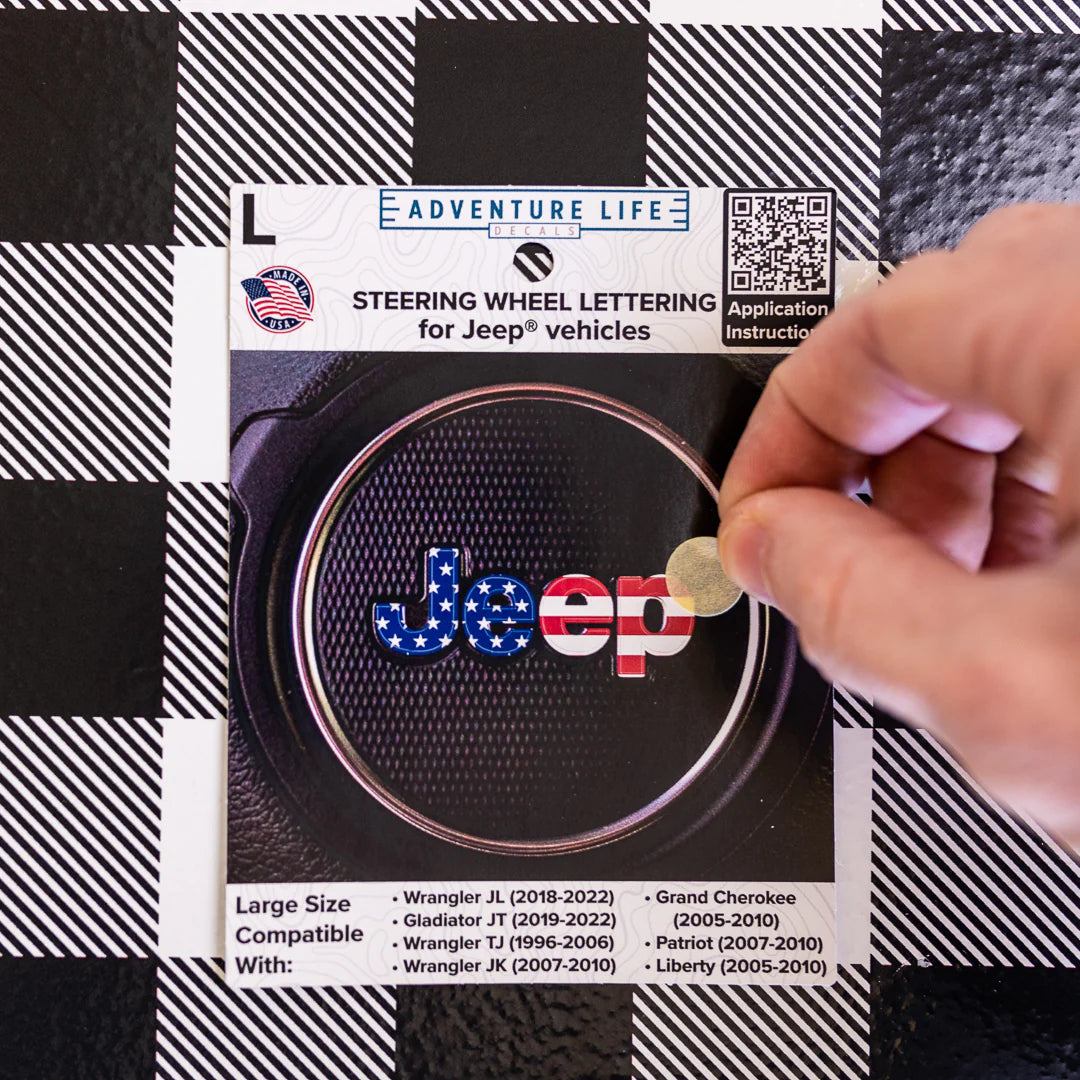
1. Separate the letters by cutting between them to apply one letter at a time.
2. Peel the clear transfer tape with the decal away from the paper backing.
3. Align the letter on the emblem.
4. Apply the letter and press down firmly.
5. Remove the clear transfer tape layer, leaving the decal applied to the emblem.
6. Repeat Steps 2-5 for each letter.
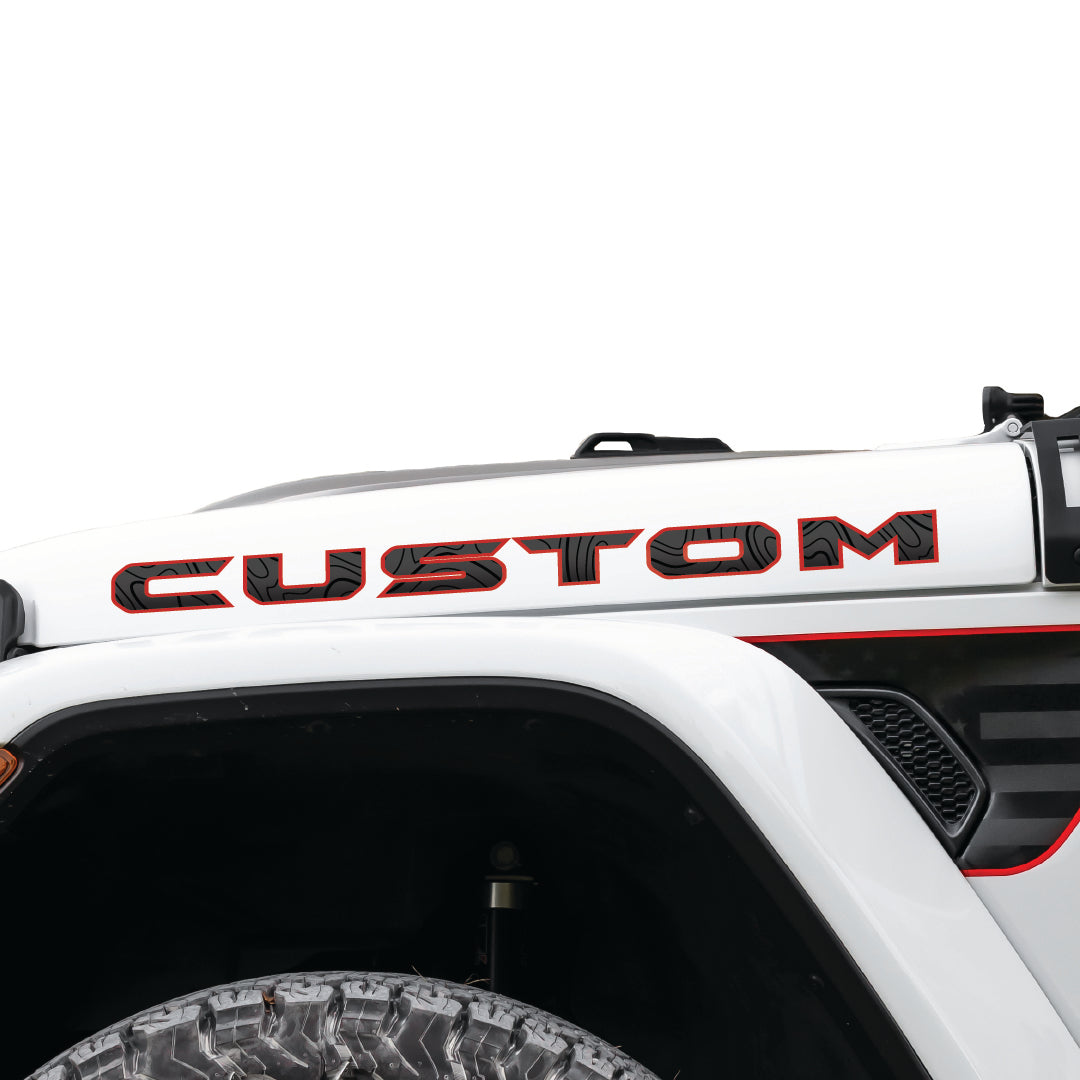
CUSTOM LETTERINGDry Install
* Minimum application temperature +40°F * Applied decal temperature range -40°F to +180°F
Steps:
1. Unfold/unroll the lettering and lay it flat.
2. Clean the area on your vehicle thoroughly with Rapid Tac or warm soapy water and dry with a lint-free cloth.
3. Before removing the paper backing, place the decal in the desired position by using pieces of masking tape or any other strong tape that won’t leave a residue.
4. Leave the left or right half of the graphic taped down and peel the opaque transfer tape with the letters away from the paper backing. Once you have peeled back about half of the transfer tape and decal, cut or rip the white paper backing off and discard it.
5. Using your hand or a squeegee, apply the half of the graphic that has been pulled back with the transfer tape by starting at the middle and working towards the end while applying pressure as you lay the graphic down. Take your time with this and keep tension on the graphic/transfer tape to avoid it laying down before you want it to.
6. Apply the other side of the graphic by removing the tape you have placed to hold it down, pull the graphic back, remove the white paper backing and lay the graphic down like the other side. Starting at the middle and apply pressure while laying the graphic and transfer tape down.
7. Remove the opaque transfer tape to reveal the graphic lettering and marvel at how well you did! If any letters try to lift while removing the transfer tape, lay it back down and apply more pressure to that letter with your hand or squeegee.
Steps:
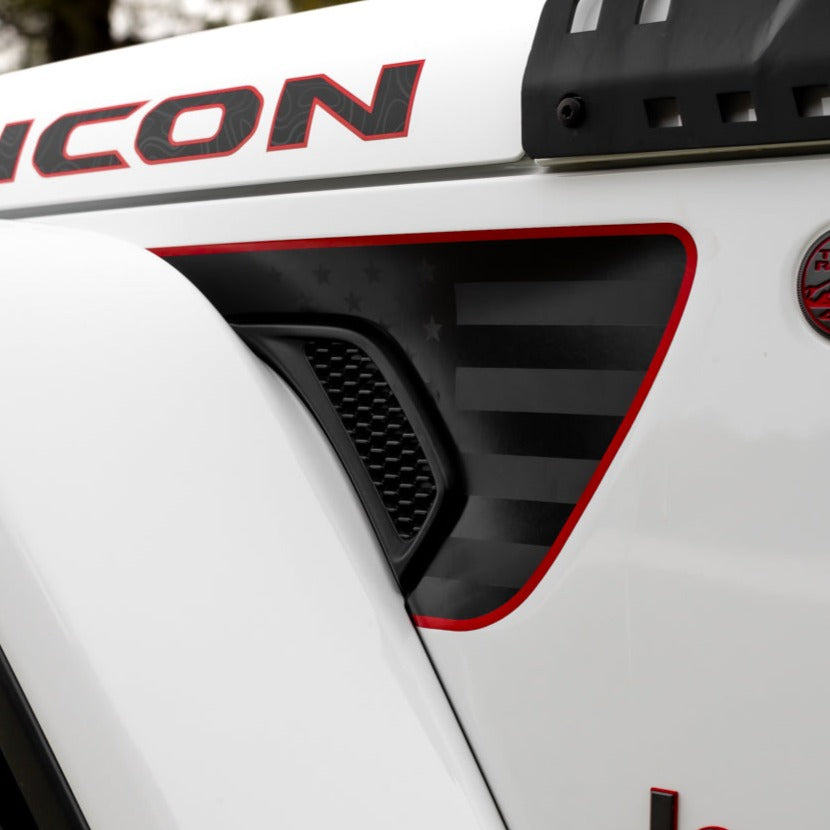
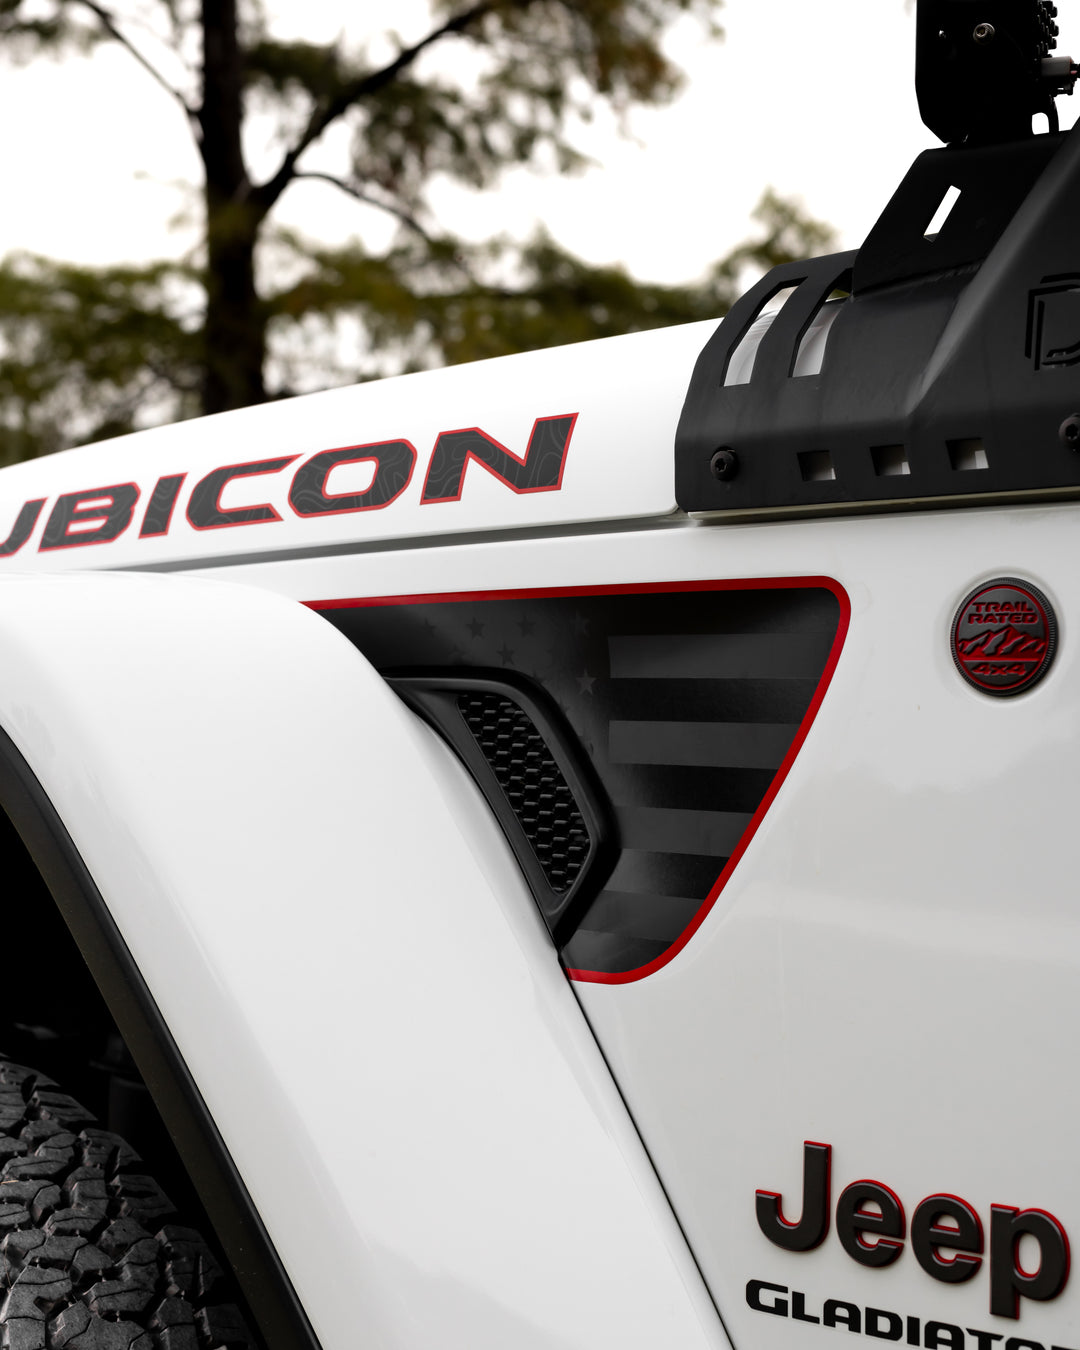
FENDER VENT DECALSWet Install
* Minimum application temperature +40°F * Applied decal temperature range -40°F to +180°F
Steps:
1. Clean the surface with soap and water and wipe dry with a lint free cloth.
Follow up with rubbing alcohol to remove waxes.
2. Spray the surface with Rapid Tac or a mixture of water and a few drops of soap.
3. Peel the decal from the paper backing and place it on the fender.
Slide it into place, following the curve of the fender around the vent area.
4. Use a squeegee with a felt edge or a plastic card with a towel or other soft cloth covering the edge to push the soapy water out from under the decal. Tip: be thorough to remove all of the Rapid Tac or soapy water from under the decal.
5. Allow it to dry for 10-15 minutes. Then press the edges down around the curves.
6. Repeat Steps 1-5 for the other side of the vehicle.
7. Wait 1-3 hours before driving with the decal on.
Tip: wait longer in colder temperatures.
Steps:


