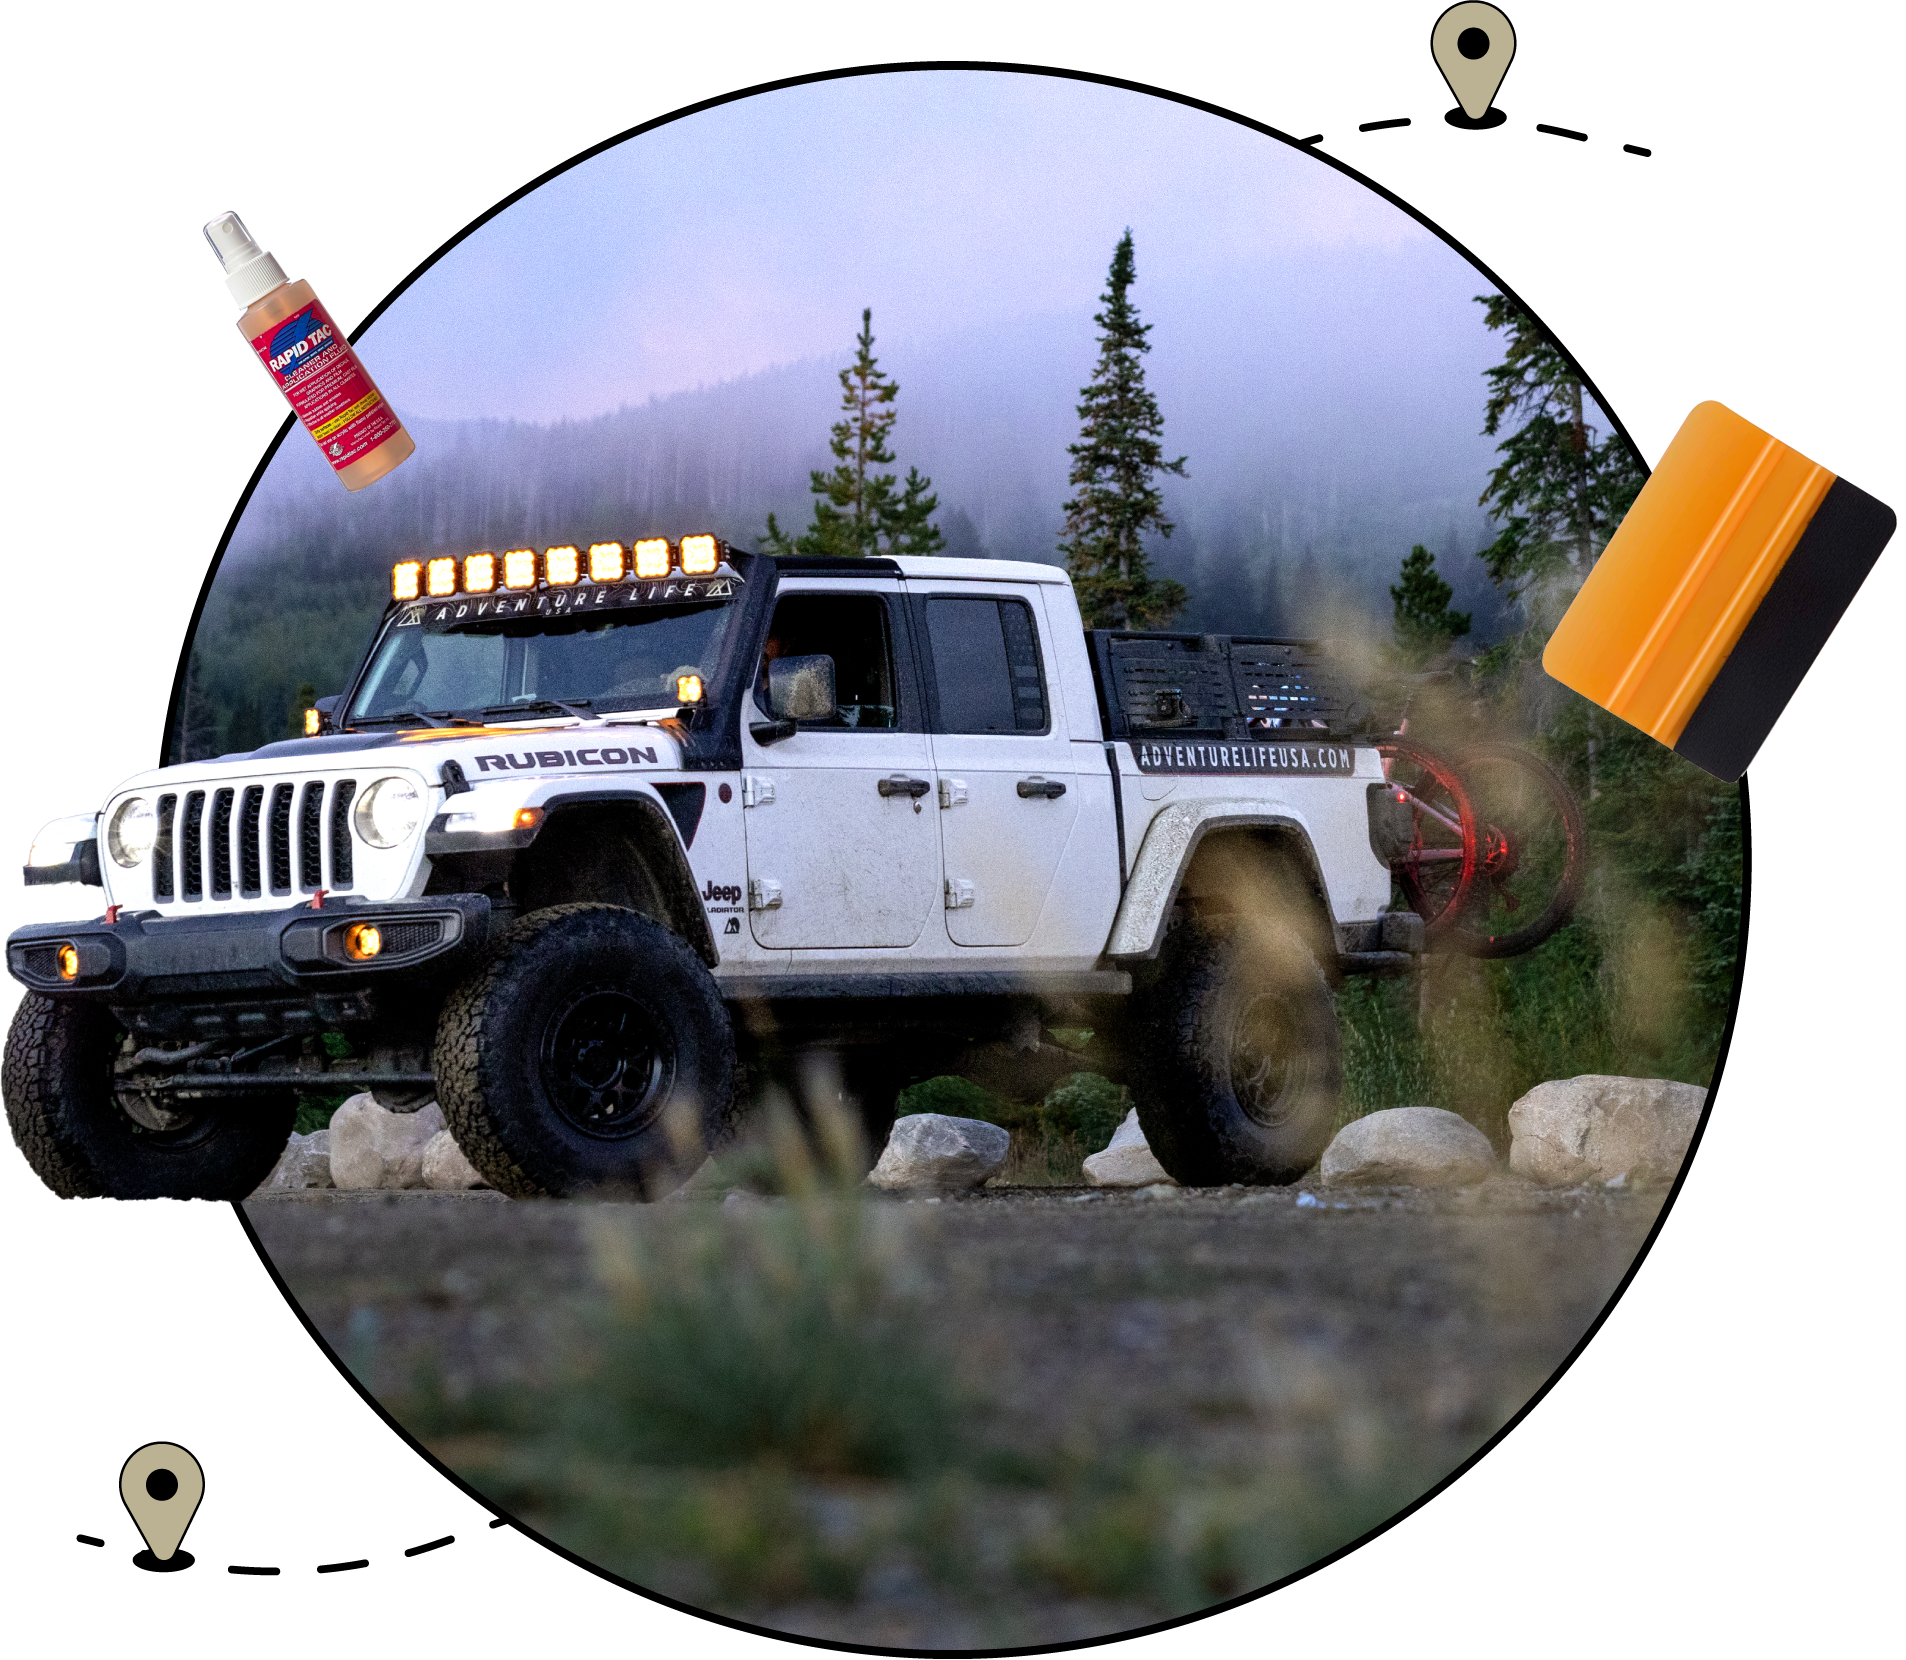
Adventure Life Decal DIY Instructions
Check out the instructions below for a step-by-step guide on how to apply your decals on your own.
Select Your Decal Type

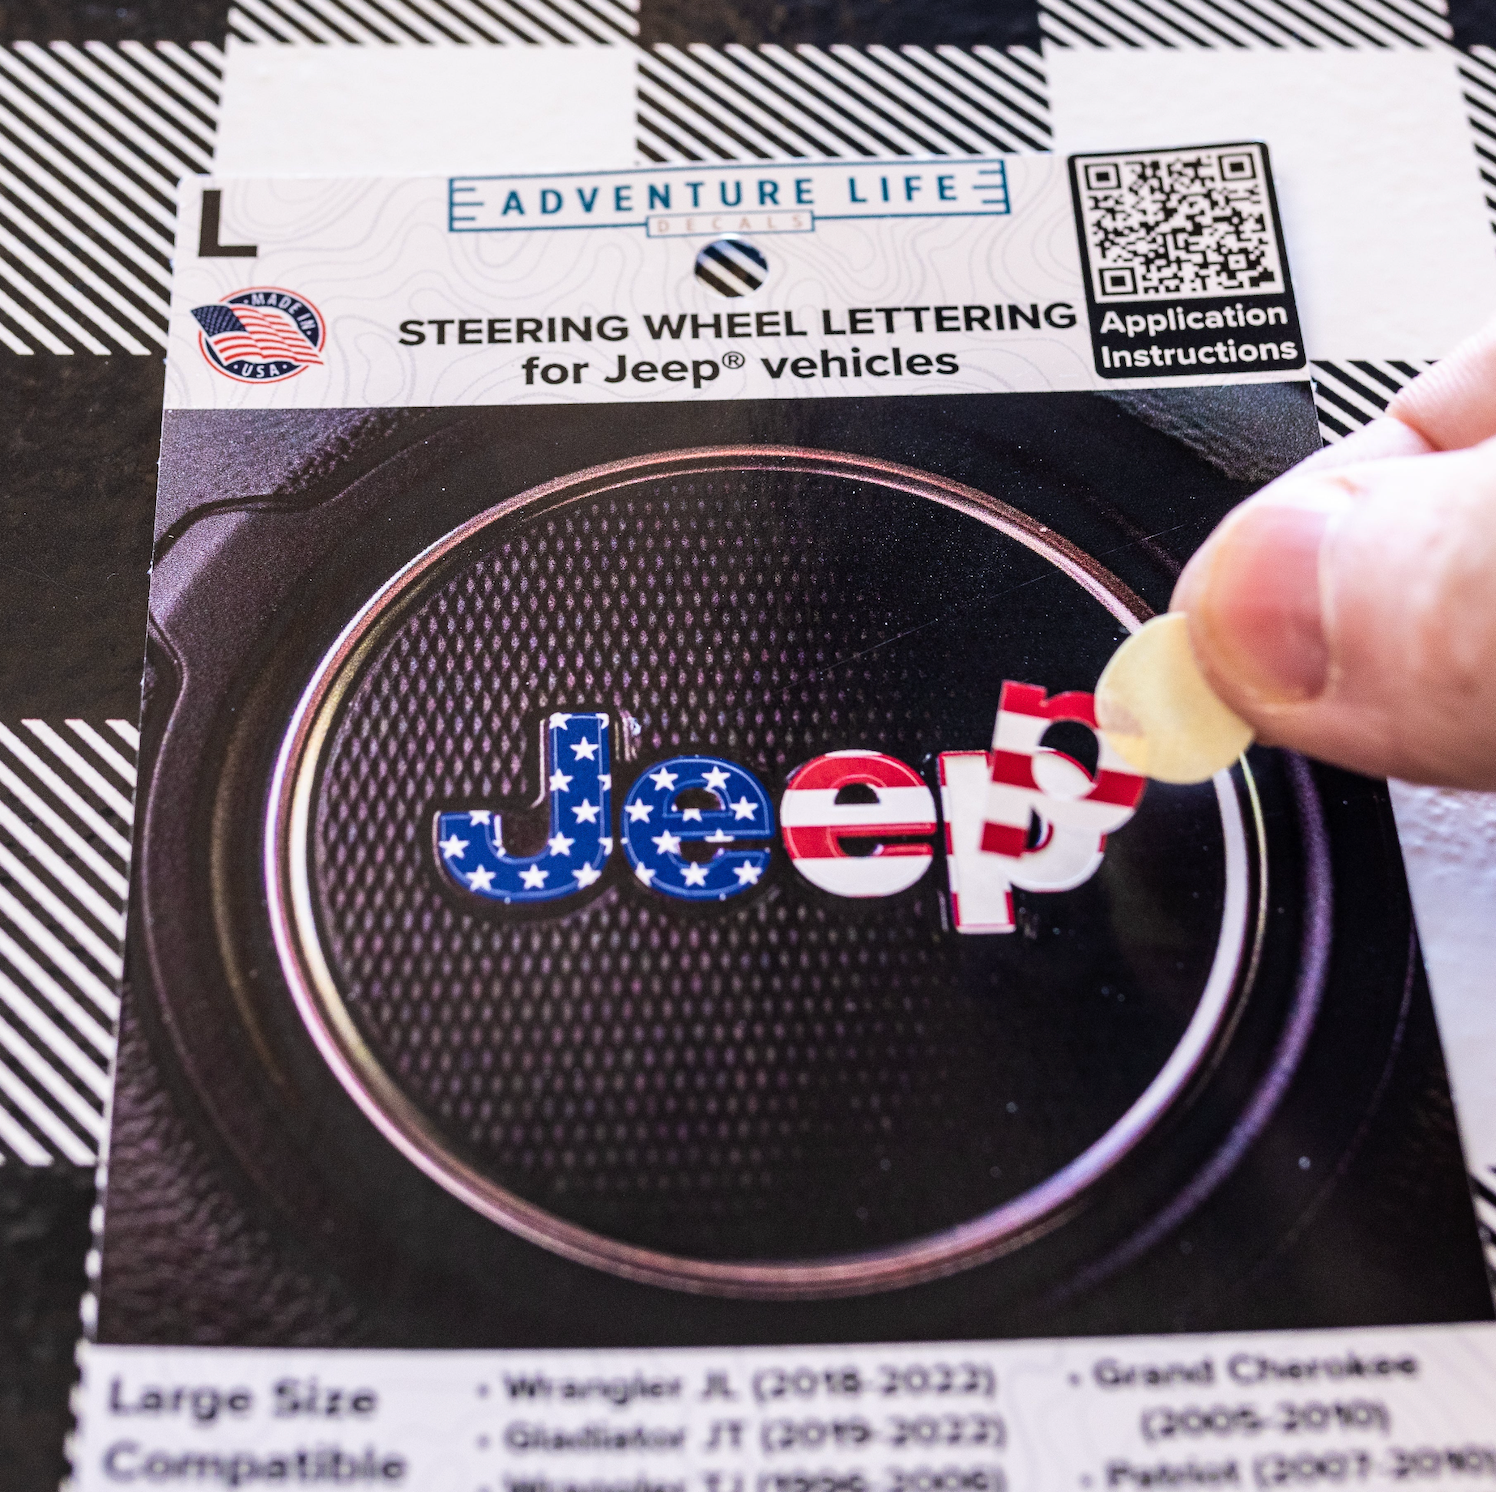
Steering Wheel Decals
for Jeep

Steering Wheel Ring Overlay
for Jeep
Emblem Overlays
Transfer Tape
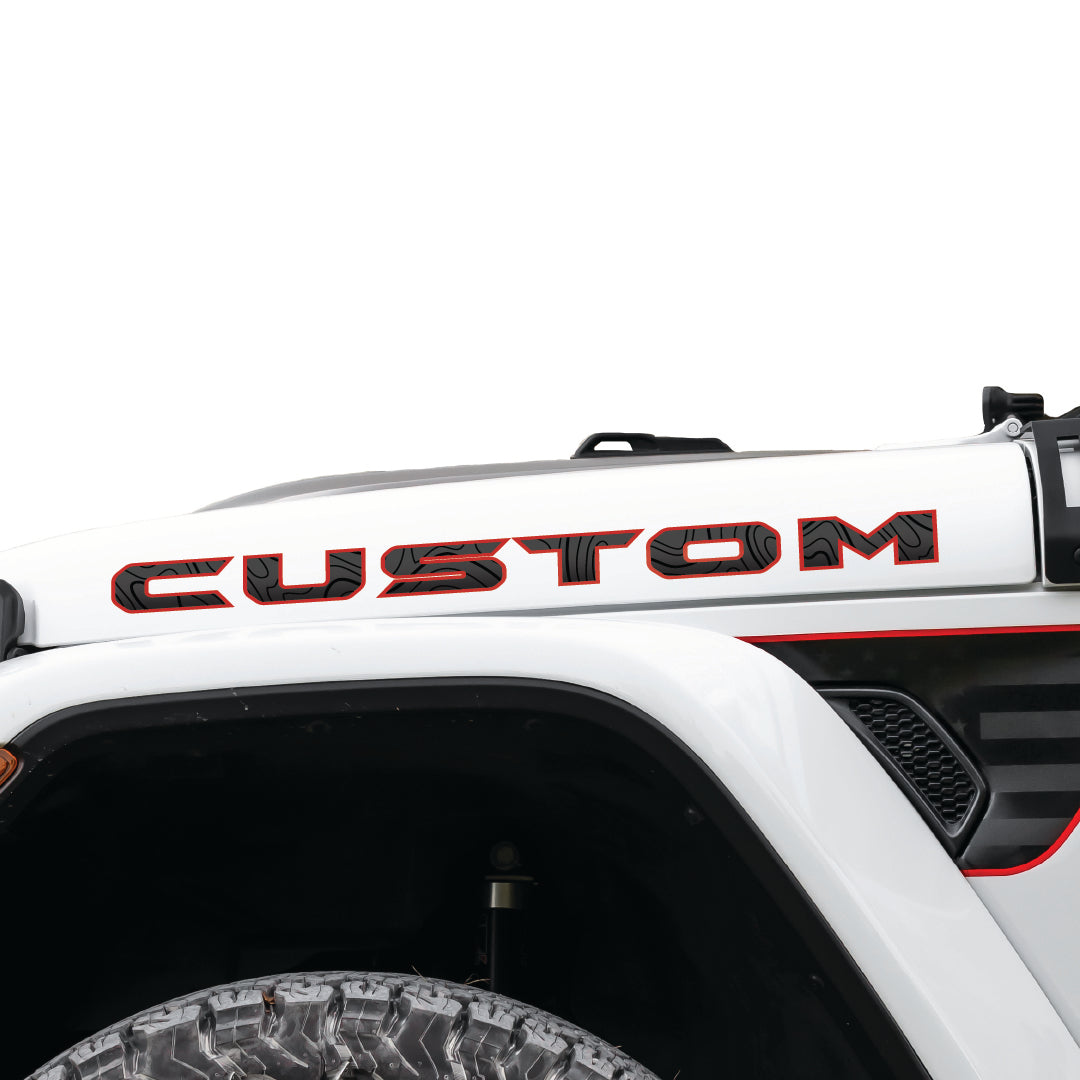
Custom Lettering
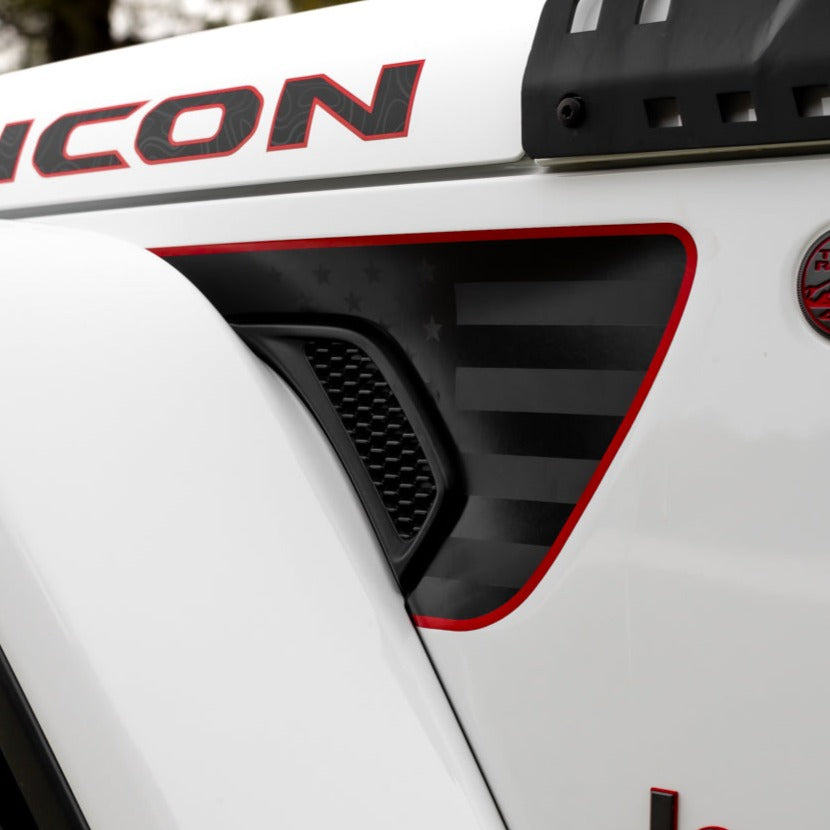
Vent Decals
Wet Install
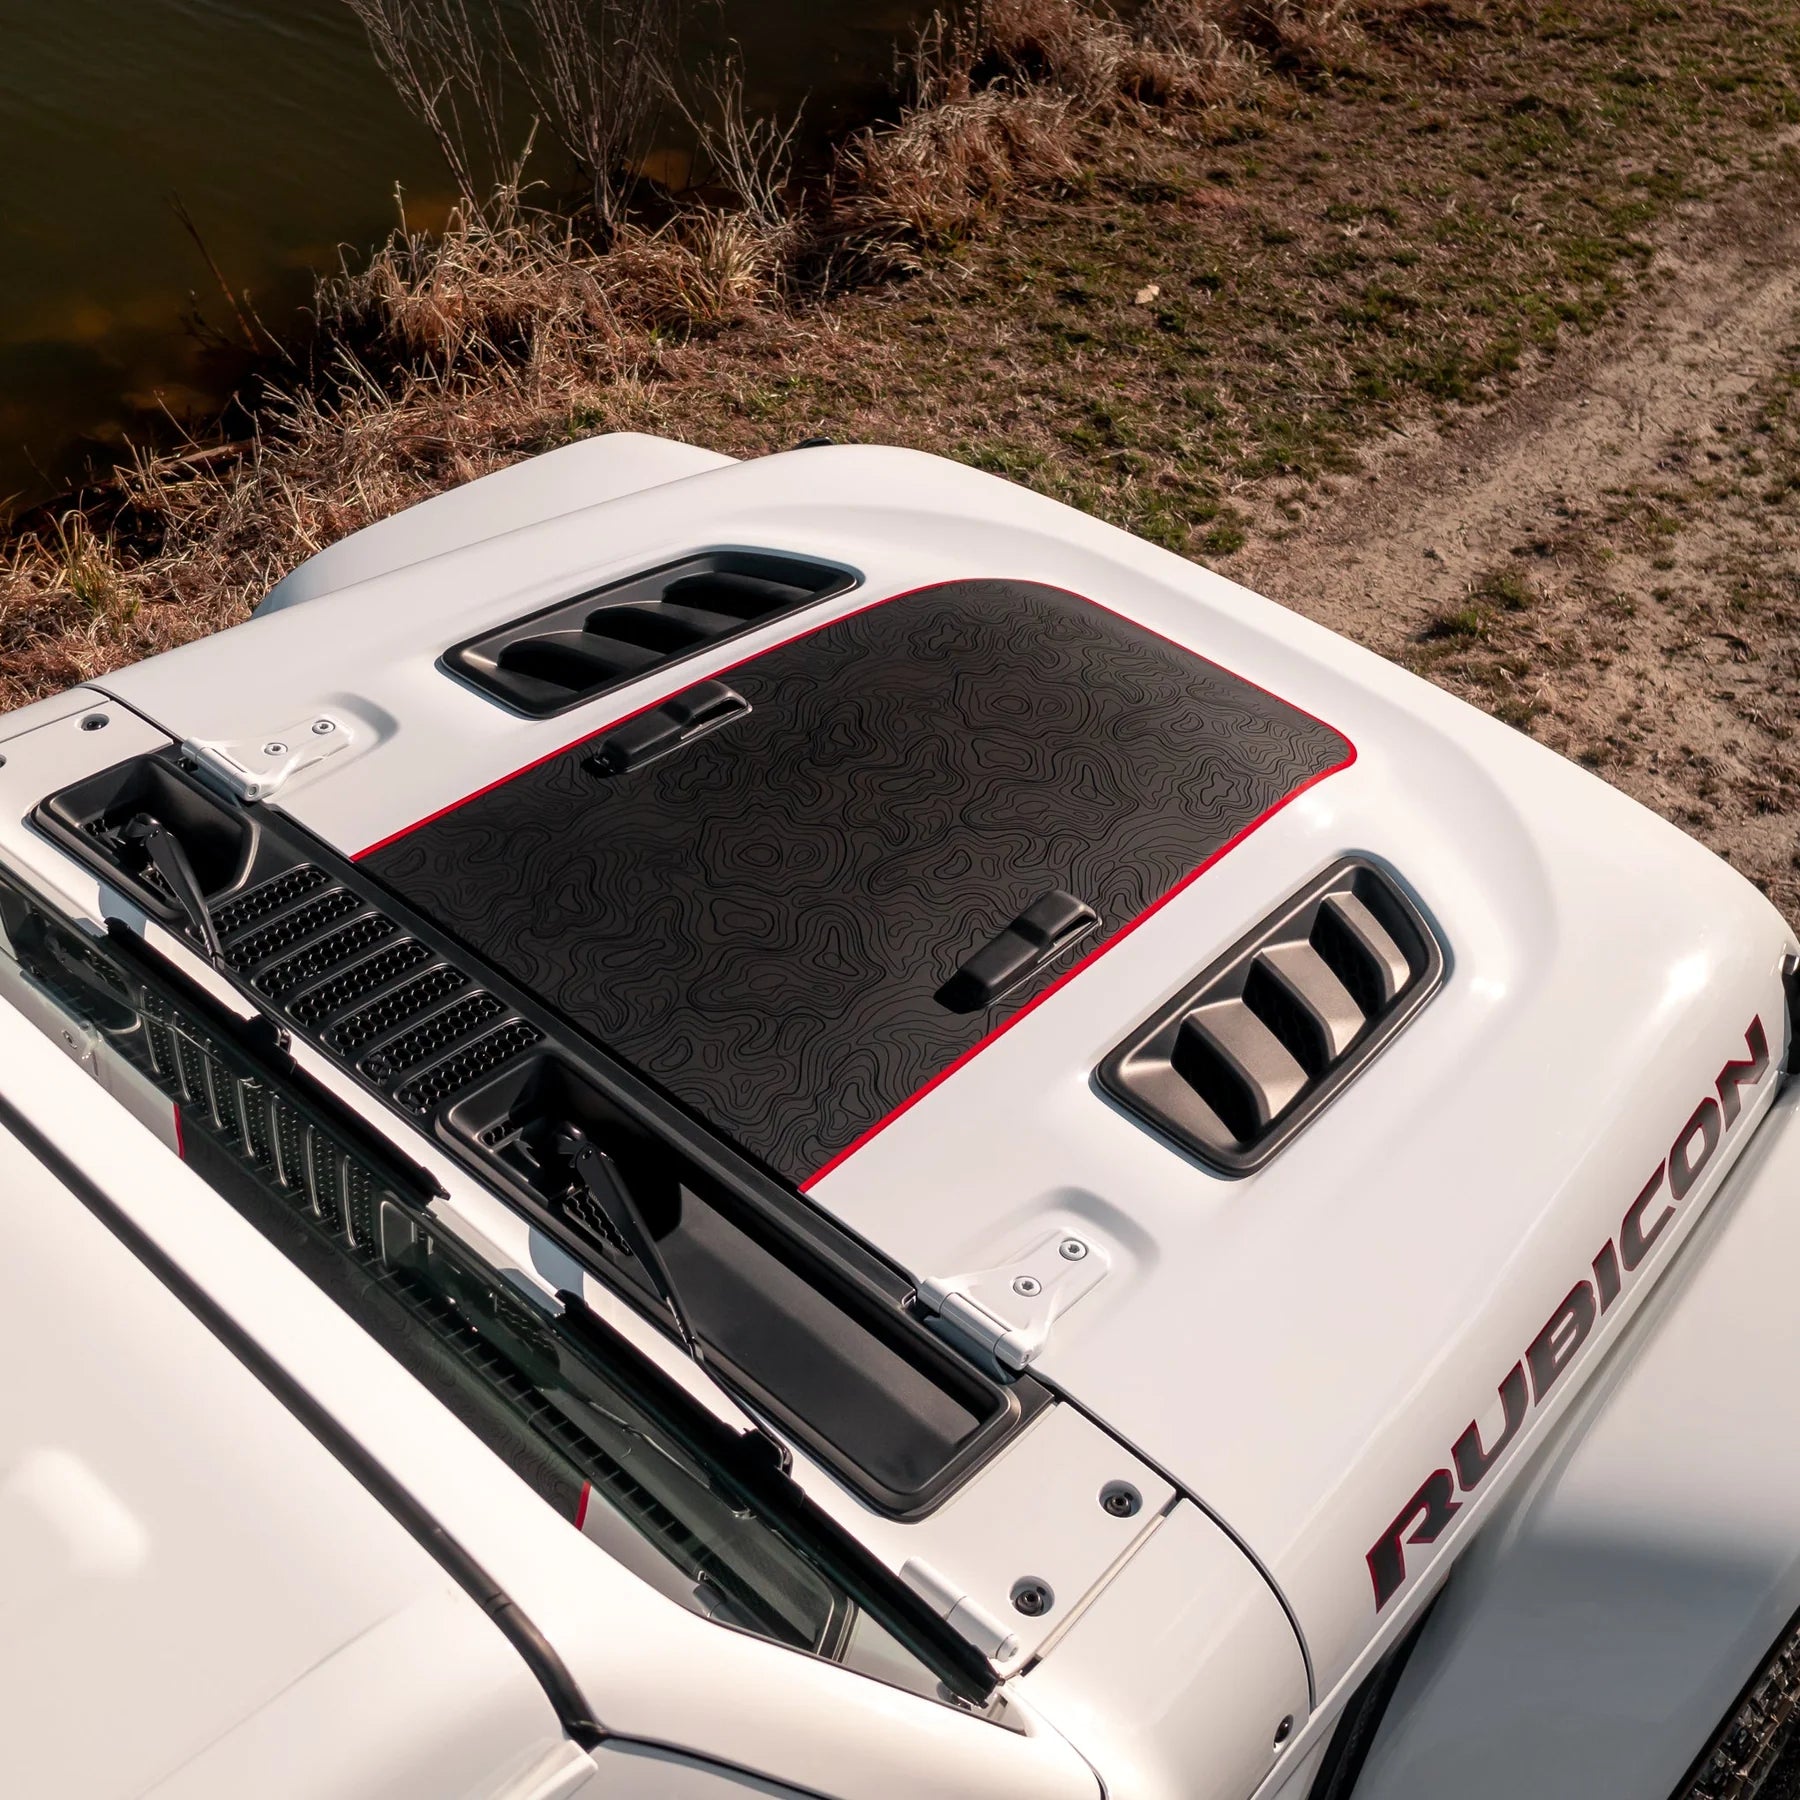
Hood Graphics
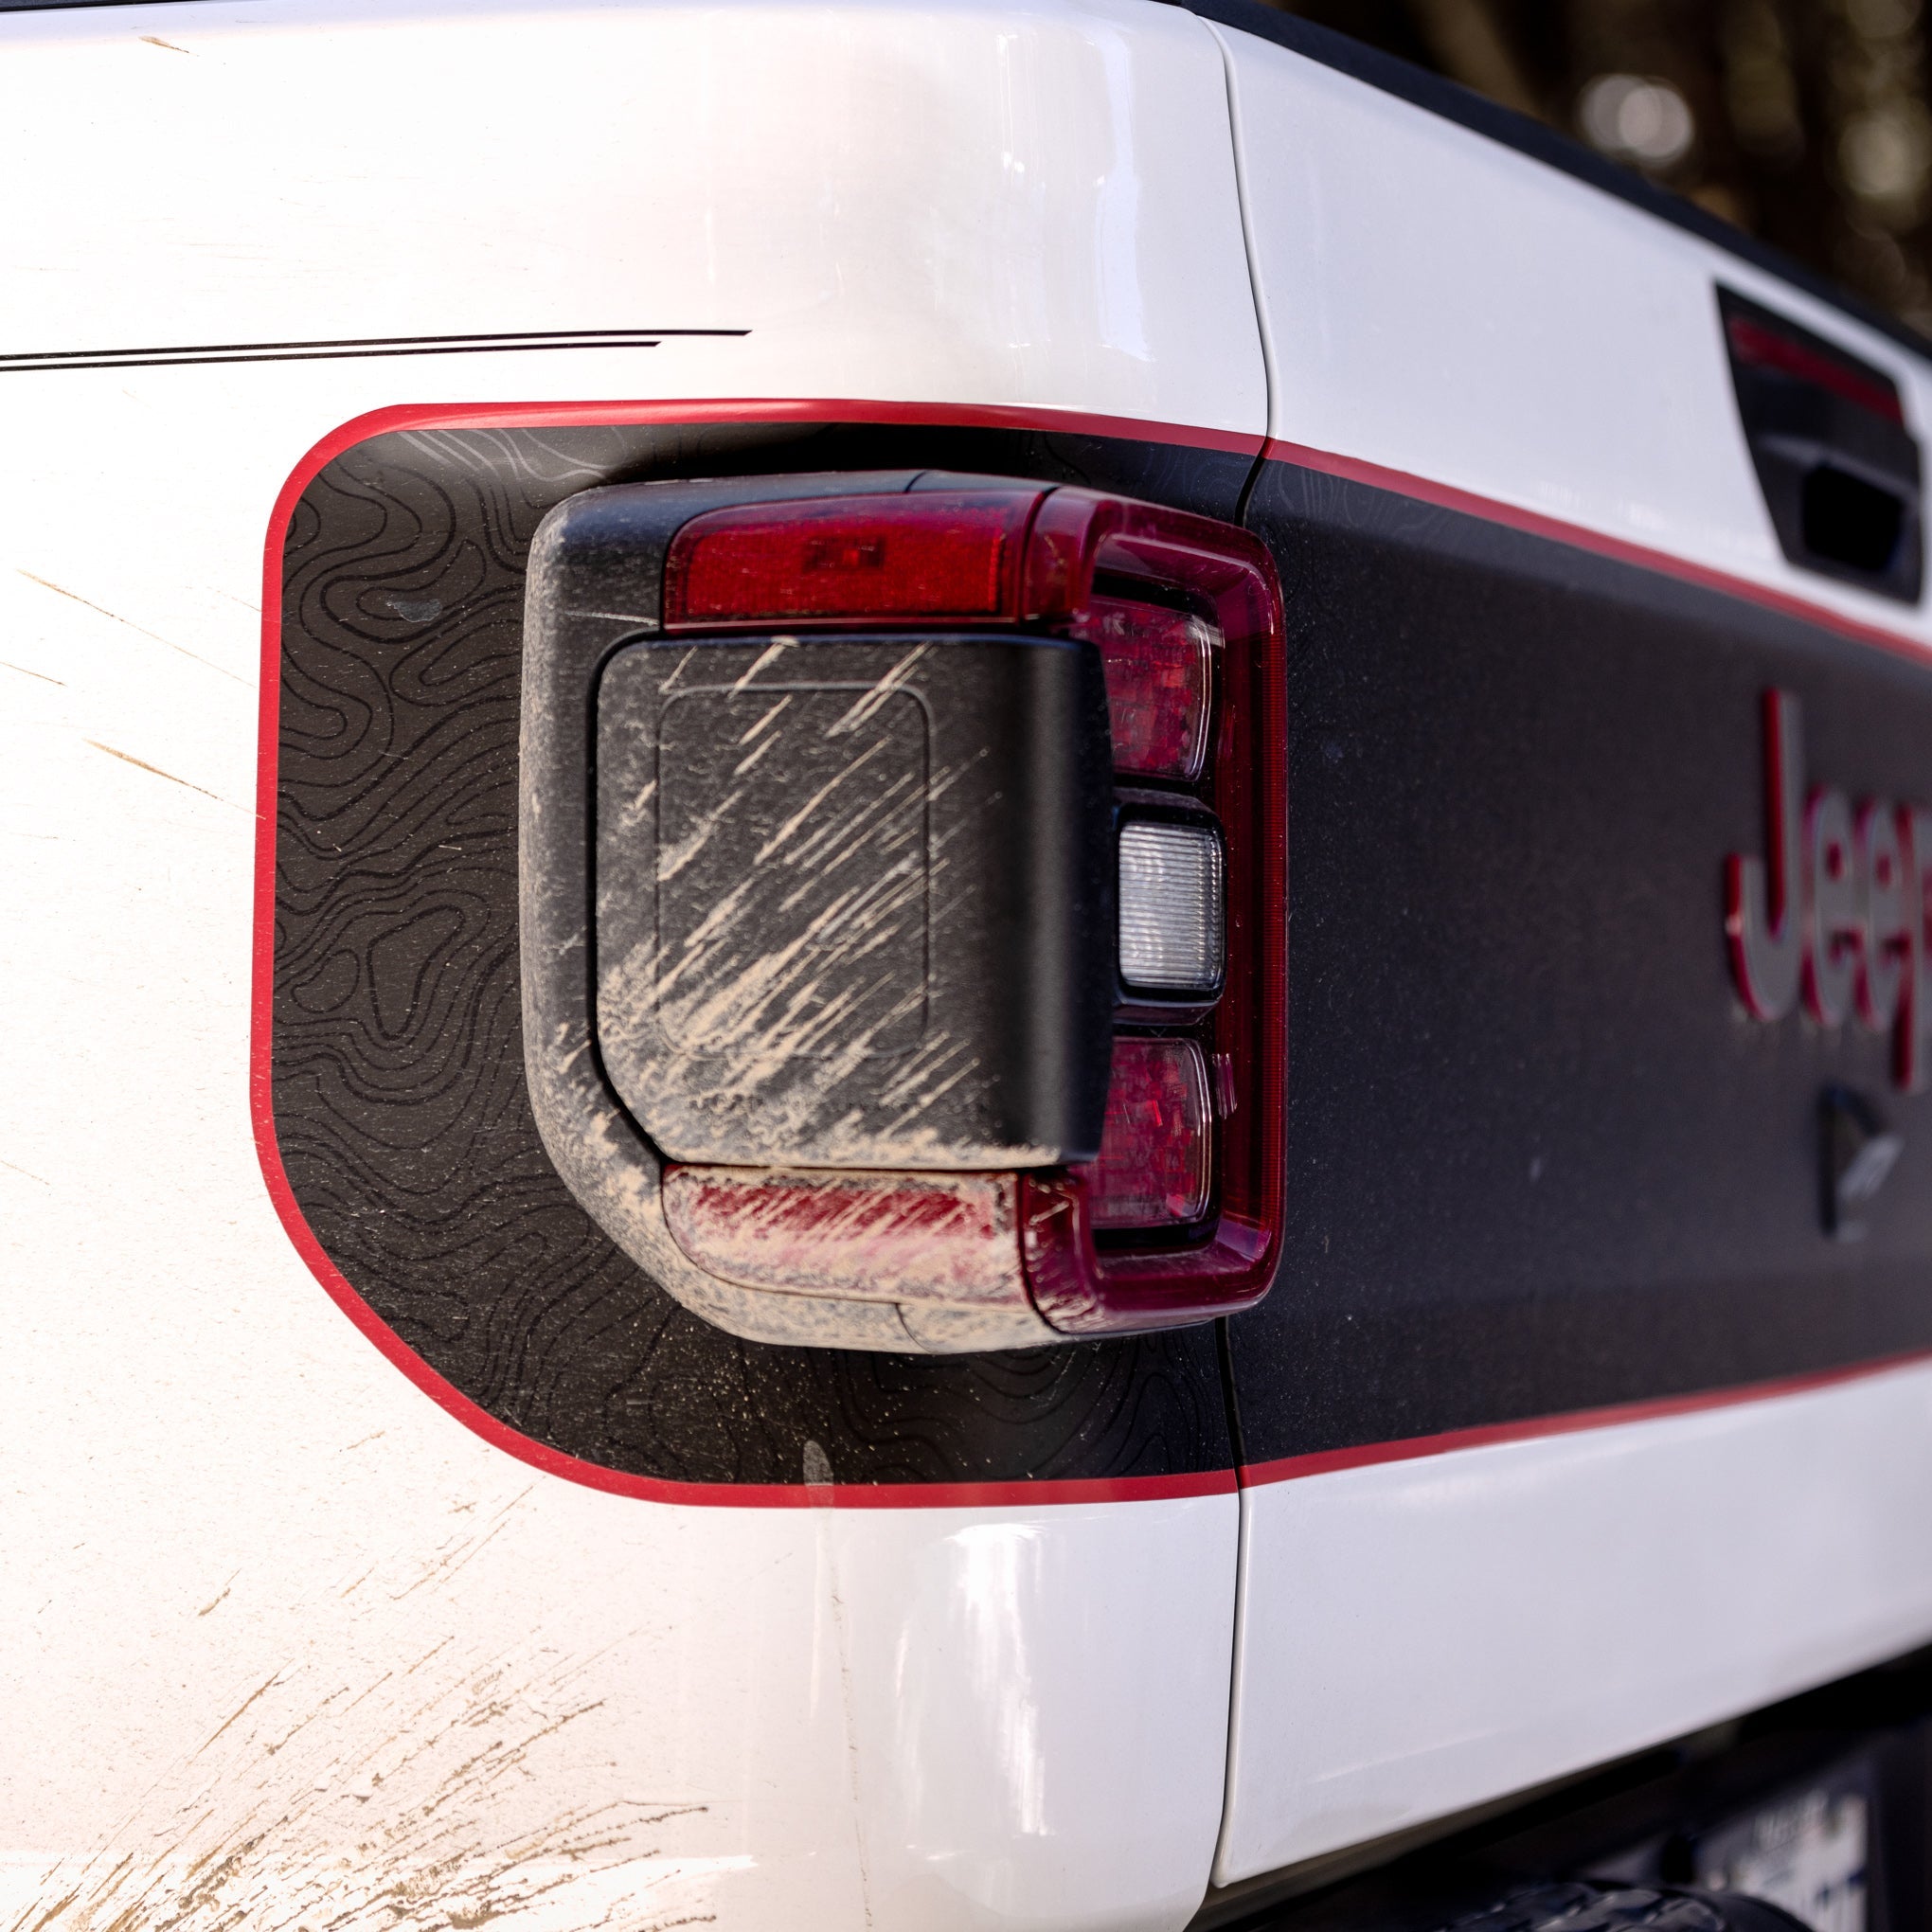
Tailgate Wrap

Door Skins
Tailgate Handle

Window Connection
Bedside Stripe

Window Decals
Paint Protection
Application Dots
for Toyota steering wheel inlays and Jeep overlay cards bough IN STORES. For other emblem overlays, see "Emblem Overlays" at the top.
STEERING WHEEL CIRCLE & RECTANGLE DECALS for Jeep
* Minimum application temperature +40°F * Applied decal temperature range -40°F to +180°F
Steps:
1. Peel the decal from the paper backing. It helps to fold the paper away from the decal.
2. Align the top of the decal.
3. Align the bottom of the decal.
4. (optional) Peel back and re-position if necessary.
5. Press the decal down once in place.
Steps:
1. Peel the decal from the paper backing. It helps to fold the paper away from the decal.
2. Align the top of the decal.
3. Align the bottom of the decal.
4. (optional) Peel back and re-position if necessary.
5. Press the decal down once in place.
STEERING WHEEL RING OVERLAY for Jeep
* Minimum application temperature +40°F * Applied decal temperature range -40°F to +180°F
Takes Under 5 minutes
Quick Install Steps:
1. Clean the chrom ring with alcohol
2. Peel backing and align from the top
3. Press firmly around the ring
4. Slowing peel back transfer tape, being sure not to lift the overlay
5. Press the overlay down around the inside and outside edges of your steering wheel ring.
Takes Under 5 minutes
Quick Install Steps:
Quick Install Steps:
1. Clean the chrom ring with alcohol
2. Peel backing and align from the top
3. Press firmly around the ring
4. Slowing peel back transfer tape, being sure not to lift the overlay
5. Press the overlay down around the inside and outside edges of your steering wheel ring.
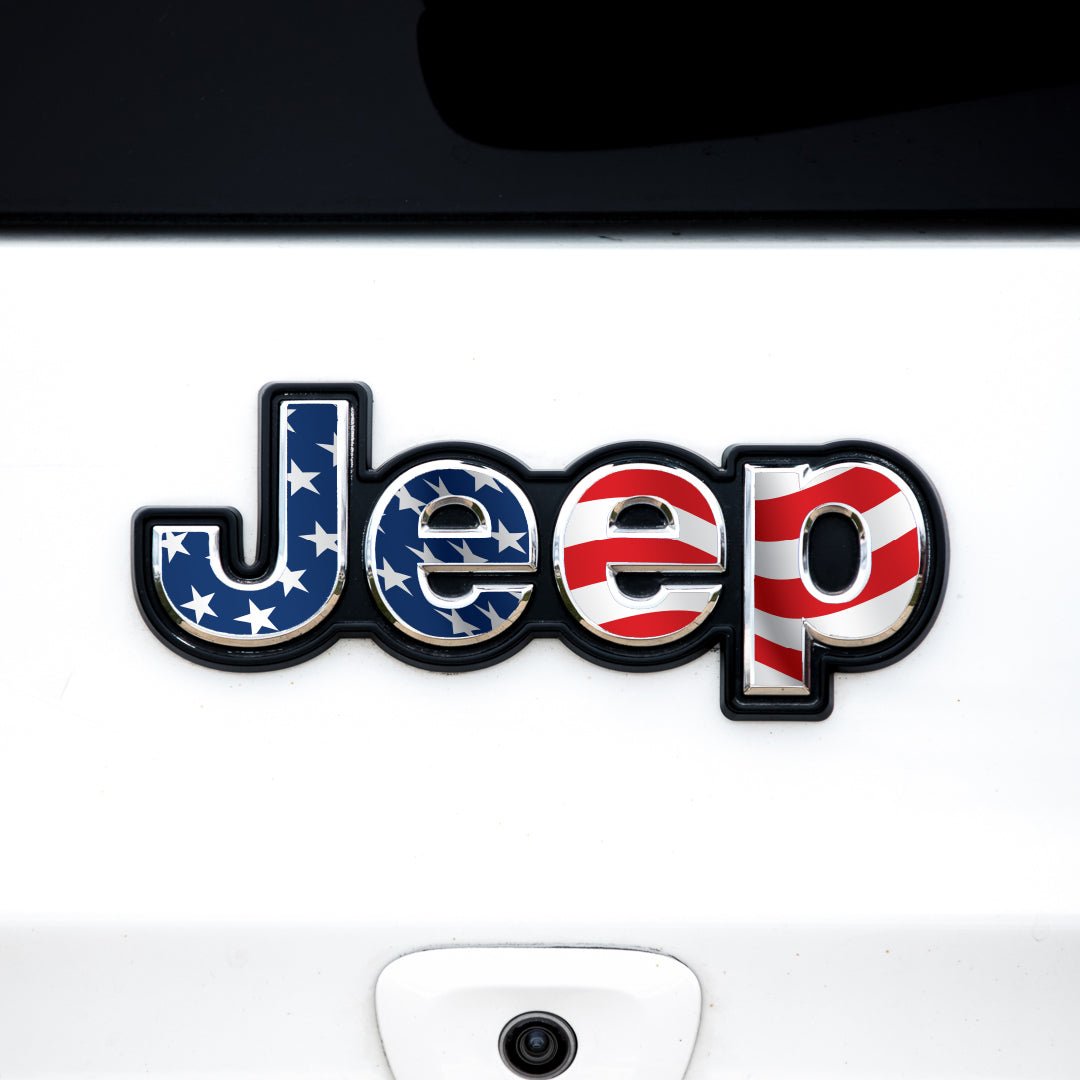
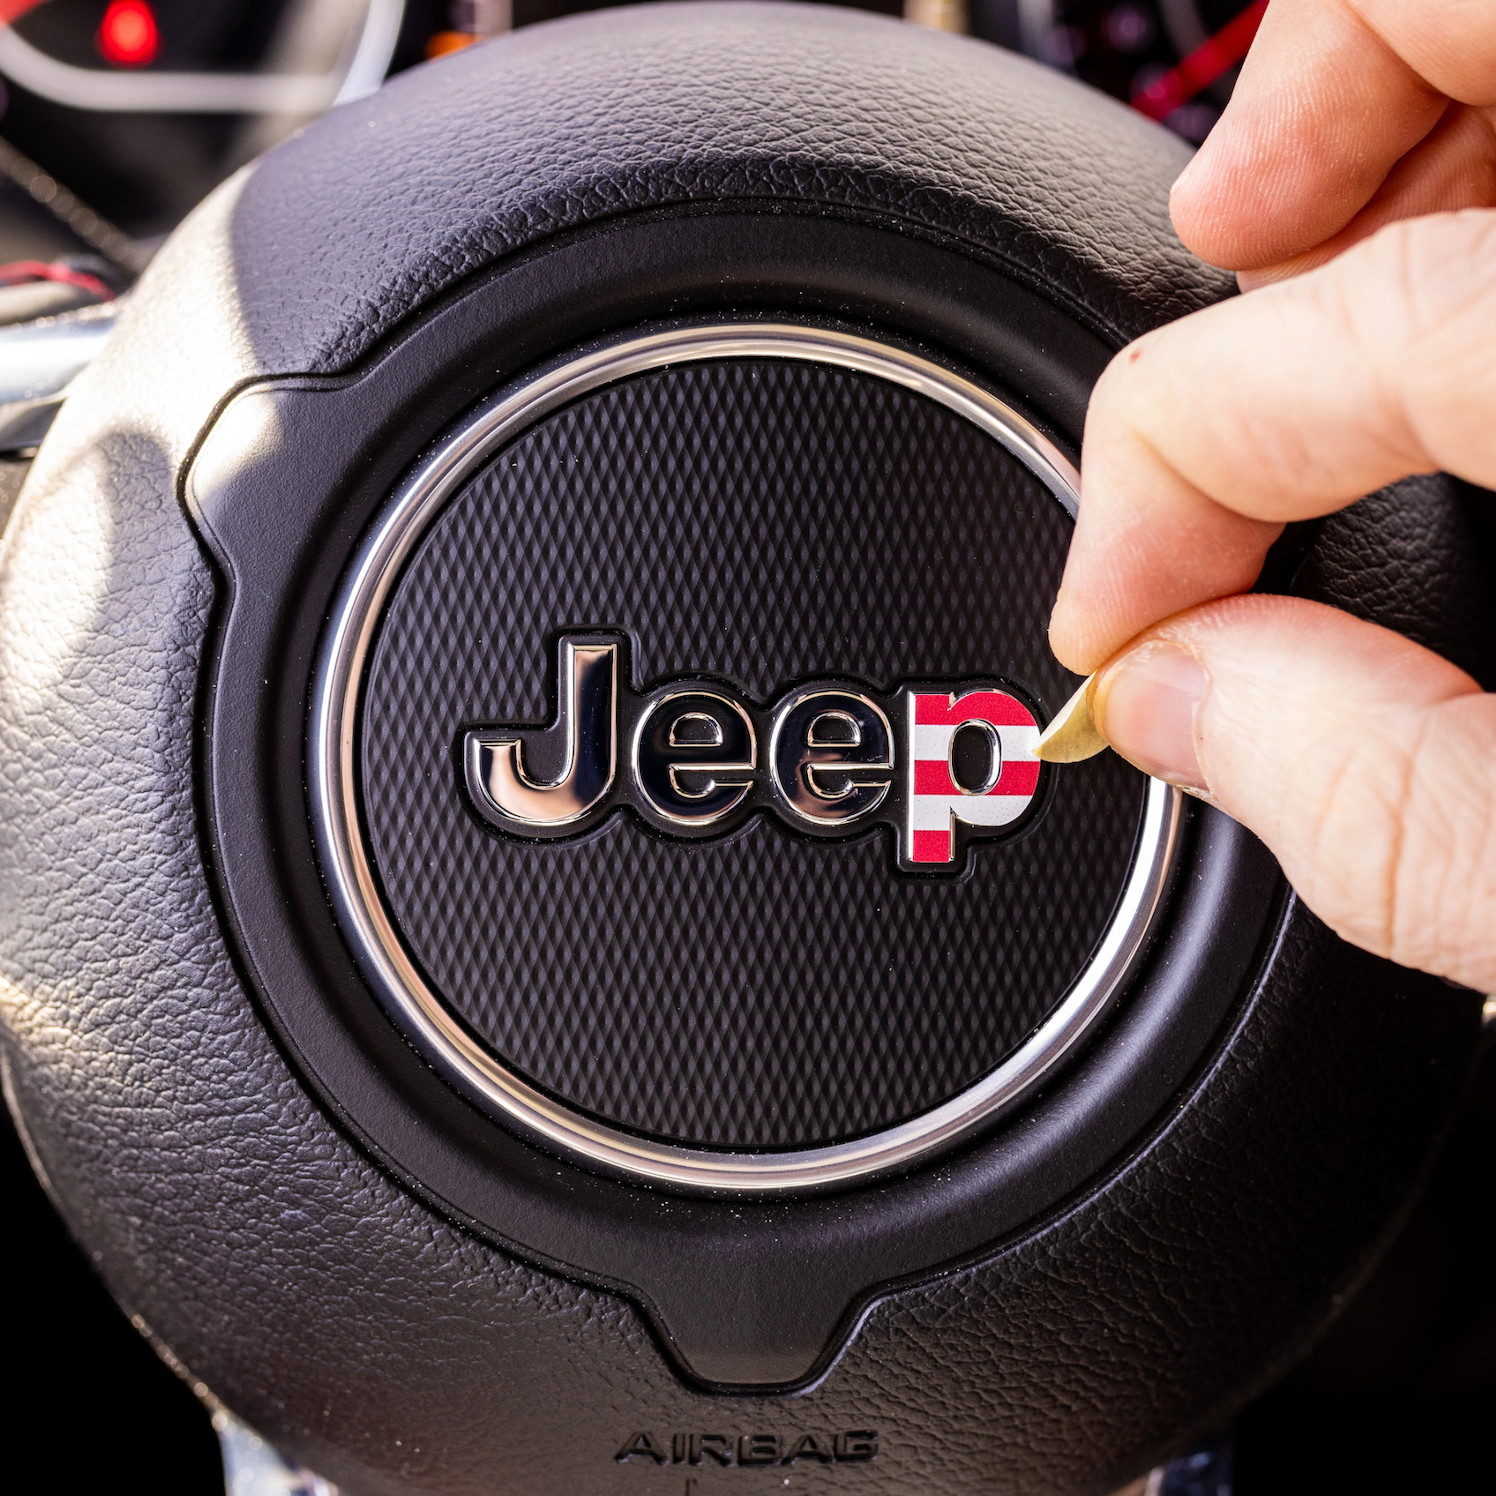
EMBLEM OVERLAYSTransfer Tape
* Minimum application temperature +40°F * Applied decal temperature range -40°F to +180°F
Steps:
1. Separate the letters by cutting between them to apply one letter at a time.
2. Peel the clear transfer tape with the decal away from the paper backing. 3. Align the letter on the emblem. 4. Apply the letter and press down firmly. 5. Remove the clear transfer tape layer, leaving the decal applied to the emblem.
6. Repeat Steps 2-5 for each letter.
Steps:
1. Separate the letters by cutting between them to apply one letter at a time.
2. Peel the clear transfer tape with the decal away from the paper backing.
3. Align the letter on the emblem.
4. Apply the letter and press down firmly.
5. Remove the clear transfer tape layer, leaving the decal applied to the emblem.
6. Repeat Steps 2-5 for each letter.
CUSTOM LETTERINGDry Install
* Minimum application temperature +40°F * Applied decal temperature range -40°F to +180°F
Steps:
1. Unfold/unroll the lettering and lay it flat.
2. Clean the area on your vehicle thoroughly with Rapid Tac or warm soapy water and dry with a lint-free cloth.
3. Before removing the paper backing, place the decal in the desired position by using pieces of masking tape or any other strong tape that won’t leave a residue.
4. Leave the left or right half of the graphic taped down and peel the opaque transfer tape with the letters away from the paper backing. Once you have peeled back about half of the transfer tape and decal, cut or rip the white paper backing off and discard it.
5. Using your hand or a squeegee, apply the half of the graphic that has been pulled back with the transfer tape by starting at the middle and working towards the end while applying pressure as you lay the graphic down. Take your time with this and keep tension on the graphic/transfer tape to avoid it laying down before you want it to.
6. Apply the other side of the graphic by removing the tape you have placed to hold it down, pull the graphic back, remove the white paper backing and lay the graphic down like the other side. Starting at the middle and apply pressure while laying the graphic and transfer tape down.
7. Remove the opaque transfer tape to reveal the graphic lettering and marvel at how well you did! If any letters try to lift while removing the transfer tape, lay it back down and apply more pressure to that letter with your hand or squeegee.
Steps:
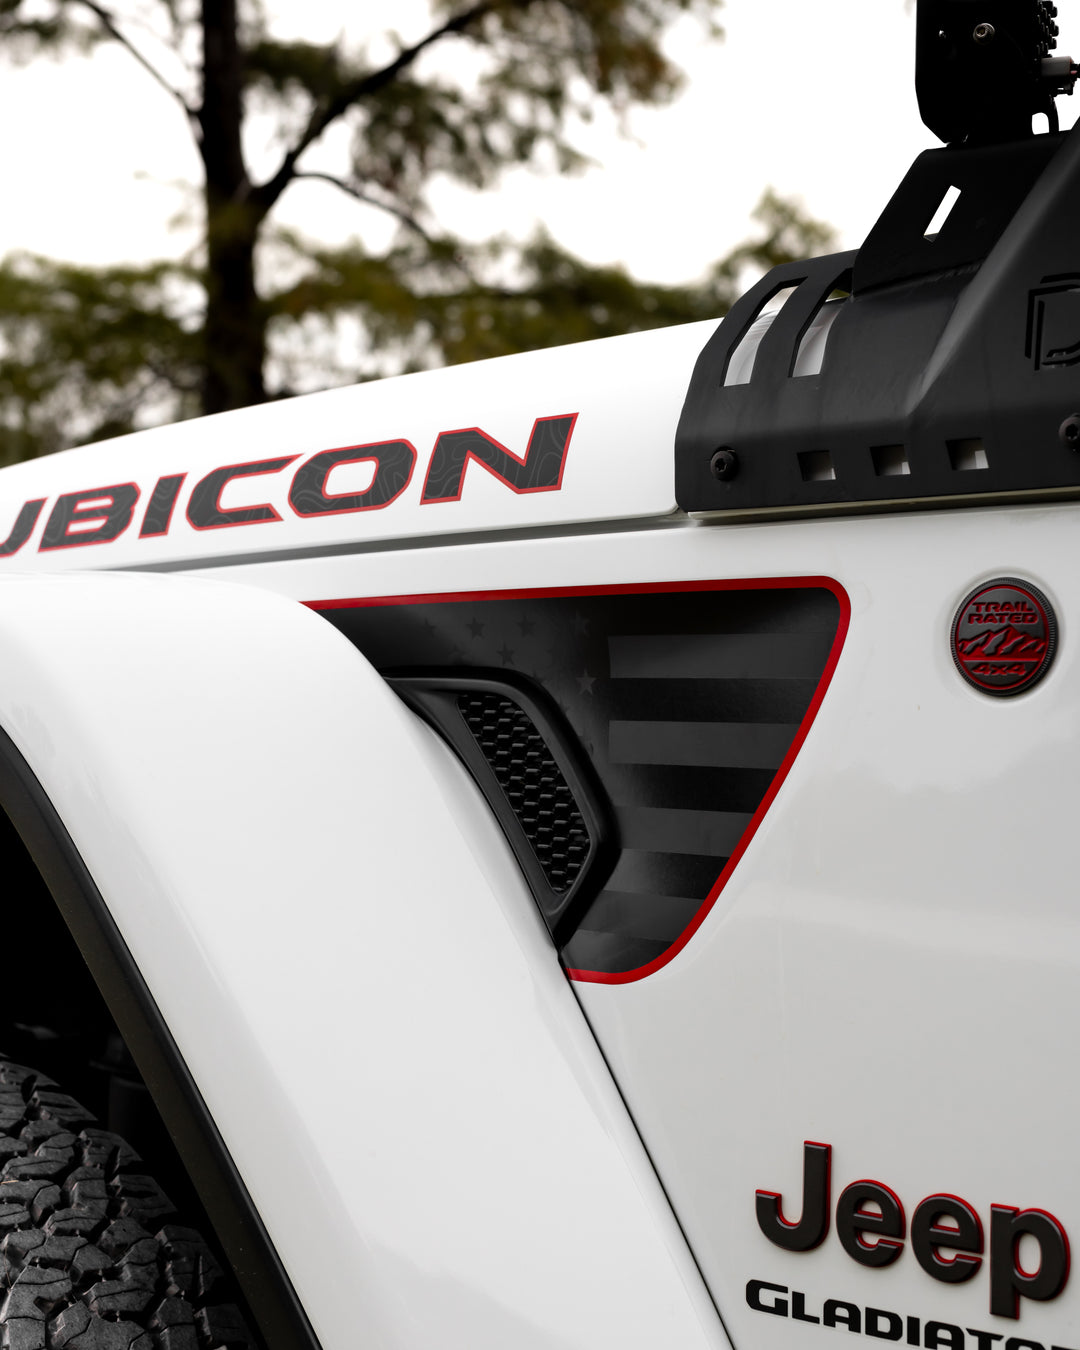
FENDER VENT DECALSWet Install
* Minimum application temperature +40°F * Applied decal temperature range -40°F to +180°F
Steps:
1. Clean the surface with soap and water and wipe dry with a lint free cloth.
Follow up with rubbing alcohol to remove waxes.
2. Spray the surface with Rapid Tac or a mixture of water and a few drops of soap.
3. Peel the decal from the paper backing and place it on the fender.
Slide it into place, following the curve of the fender around the vent area.
4. Use a squeegee with a felt edge or a plastic card with a towel or other soft cloth covering the edge to push the soapy water out from under the decal. Tip: be thorough to remove all of the Rapid Tac or soapy water from under the decal.
5. Allow it to dry for 10-15 minutes. Then press the edges down around the curves.
6. Repeat Steps 1-5 for the other side of the vehicle.
7. Wait 1-3 hours before driving with the decal on.
Tip: wait longer in colder temperatures.
Steps:
HOOD GRAPHICSDry Install
* Minimum application temperature +40°F * Applied decal temperature range -40°F to +180°F
*Please read the application instructions or watch the video through before beginning to apply your graphic so that you get it applied just how you want it.
It is recommended to apply this graphic in a climate controlled environment or in the shade and cool weather if a climate controlled environment is not available. If you want to apply this in warmer weather, it is recommended that you use a wet application method shown for the fender vent graphics since the graphic will have a higher initial tack in warmer weather/outdoors.
Optional Steps for the hood decal without cutouts for the windshield bumpers: • Pop your hood, remove the heat shield, unplug the washer fluid hoses, use a wrench or socket to undo the bolts and use pliers to pinch and push the bumper out. • Pinch the washer nozzle tabs and remove it as well.
Steps:
1. Clean the area with Rapid Tac or a mixture of water, dish or baby soap, and isopropyl alcohol. Dry with a lint-free microfiber cloth. 2. Place the graphic with the paper backing on your hood and use masking tape to keep it in place.
3. Peel the back half of the graphic back (closer to the windshield), cut the paper backing off, and use your squeegee to lay the graphic down.
4. Remove the masking tape and remaining paper backing.
5. Apply a little heat to the graphic, pull to the front, and tack it down by pressing the graphic onto the hood.
6. Use your squeegee to apply the graphic, starting at the back and working towards the front. TIP: Hold the graphic with one hand to keep the un-applied graphic above the hood while using your squeegee to press the graphic down.
If you have issues with a crease or fold; peel the graphic back, apply a small amount of heat to remove the crease, and try again.
7. Finish the graphic with some heat in a small, circular motion to set the adhesive bond.
Steps:
TAILGATE WRAPSDry Install
* Minimum application temperature +40°F * Applied decal temperature range -40°F to +180°F
*Please watch the video through before beginning to apply your graphic so that you get it applied just how you want it. It is recommended to apply this graphic in a climate controlled environment or in the shade and cool weather if a climate controlled environment is not available. This will prevent the graphic pieces from unintentionally being stretched and adhering to the other pieces of the graphic during installation. It can still be applied in warm weather and direct sunlight, but be extra careful to not stretch it. This is just for the application. After it is applied, your graphic will not have any issues in sunlight, any weather conditions, or even automatic car washes.
What You Will Need: • Rapid Tac or Water + Dish or Baby Soap • Microfiber Cloth • Squeegee with soft edge (included with your purchase) • Blade (snap-blade included) • Emblem removal kit • Masking Tape • Heat Gun or Hair Dryer • 8mm Socket • T30 Torx Wrench
General Steps:
1. Remove the Jeep emblem. (1:08)
2. Remove the back up camera. (3:53)
3. Remove the tail lights. (5:17)
4. Clean the surface with Rapid Tac or soap and water and dry it with a microfiber cloth. (6:30)
5. Apply the Left and Right graphic pieces on the rear quarter panels. (6:50)
6. Apply the stripe across the tailgate. (13:32)
7. Cut out the hole for your back up camera and template (if you are re-installing your emblem). (19:26)
8. Wrap the camera assembly (optional). (20:20)
9. Re-install the camera. (26:48)
10. Re-install your emblem. (27:27)
11. Re-install your tail lights. (30:27)
General Steps:
Door Skins
* Minimum application temperature +40°F * Applied decal temperature range -40°F to +180°F
*Please watch the video through before beginning to apply your graphic so that you get it applied just how you want it. It is recommended to apply this graphic in a climate controlled environment or in the shade and cool weather if a climate controlled environment is not available. This will prevent the graphic pieces from unintentionally being stretched and adhering to the other pieces of the graphic during installation. It can still be applied in warm weather and direct sunlight, but be extra careful to not stretch it. This is just for the application. After it is applied, your graphic will not have any issues in sunlight, any weather conditions, or even automatic car washes.
What You Will Need: • Rapid Tac or Water + Dish or Baby Soap • Microfiber Cloth • Squeegee with soft edge (included with your purchase) • Heat Gun or Hair Dryer
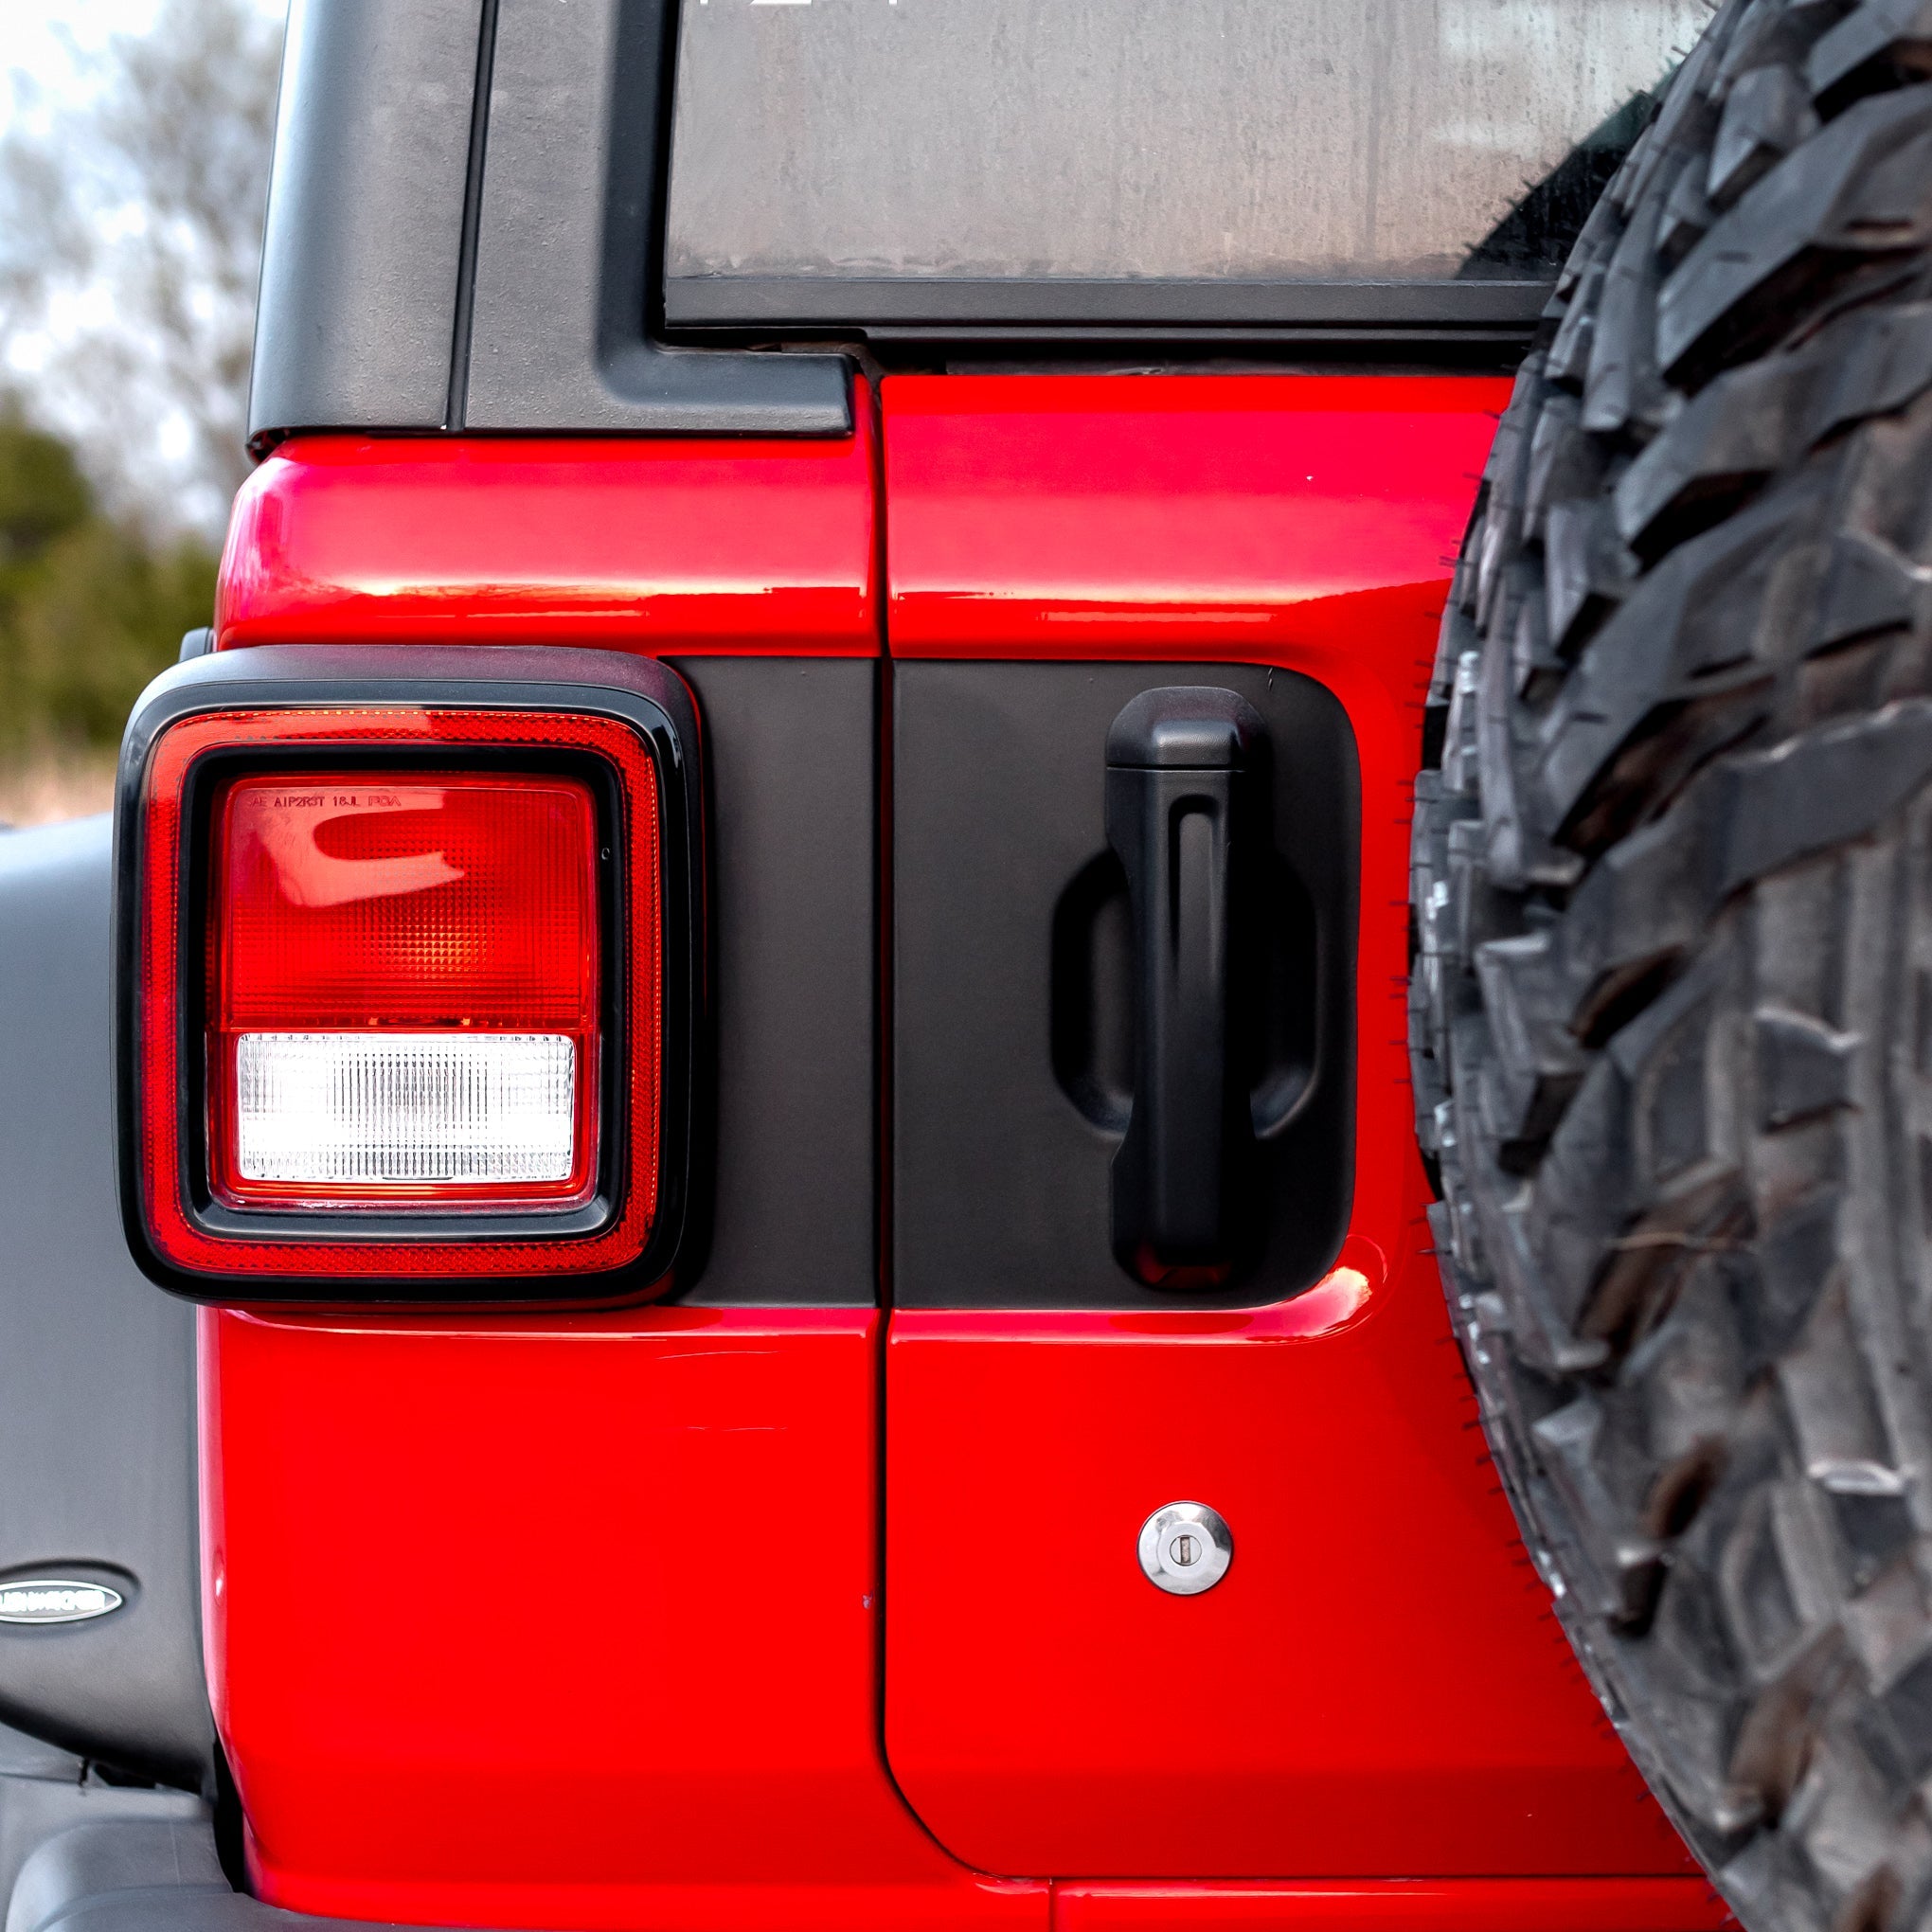
TAILGATE HANDLE WRAP FOR JLDry Install
* Minimum application temperature +40°F * Applied decal temperature range -40°F to +180°F
*Please read the application instructions or watch the video through before beginning to apply your graphic so that you get it applied just how you want it. It is recommended to apply this graphic in a climate controlled environment or in the shade and cool weather if a climate controlled environment is not available.
What You Will Need: • Water + Dish or Baby Soap • Microfiber Cloth • Squeegee with soft edge (optional) • Sharp blade (snap-blade included) • Heat Gun or Hair Dryer • Panel Tool or Flathead screwdriver
Included in your Jeep® Toolkit • T40 Torx or 10mm socket • Long T20 Torx Wrench
Steps:
1. Use a panel tool or flathead screwdriver to remove the cover behind your driver side tail light.
2. Remove the plastic bolt with your 10mm socket or T40 Torx wrench.
3. Pull the tail light straight back to remove it.
4. On the inside of your tailgate, remove the black rubber cover above the JL Wrangler info plate.
5. Use your long T20 Torx wrench to loosen the bolt inside the tailgate.
6. Remove the top piece of the handle by pulling it straight back.
7. Lift the handle up and pull it away. If you have keyless entry, unplug the harness attached to the bottom of the handle. Remove the black plastic piece remaining at the top of the handle holes.
8. Clean the surface with Rapid Tac or water + soap and dry with a microfiber cloth.
9. (Do this in the shade) Remove the graphic from the paper backing. Starting with the tailgate side, align it within the inner edge of the bevel. Press the graphic down onto the flat surface to the left of the handle holes on the tailgate using your hand or squeegee.
10. Using the included blade, cut around the bolt at the bottom and the protruding plastic at the top. This does not need to be precise, just enough to let the graphic lay flat on the tailgate.
11. Still on the tailgate side, press the graphic down onto the remaining flat part of the tailgate. Leave a gap on the right side for air to escape in the next step.
12. Use your heat gun or hair dryer to warm up the material above the recessed area. A little heat goes a long way. While the material is warm and pliable, press it down into the recessed area with your finger. Starting on the left side and pushing the air out toward the right side.
13. Cut out the holes for the handle to go back in. Don't worry about cutting close to the edge of the hole. The excess material can be tucked inside.
14. Pull the graphic towards the tail light and apply it on the quarter panel.
15. Use your blade to cut between the tailgate and the quarter panel. Apply the graphic around the edges.
16. Re-install the handle and tail light.
Steps:
WINDOW CONNECTION KITDry Install
* Minimum application temperature +40°F * Applied decal temperature range -40°F to +180°F
*Please read the application instructions or watch the video through before beginning to apply your graphic so that you get it applied just how you want it. It is recommended to apply this graphic in a climate controlled environment or in the shade and cool weather if a climate controlled environment is not available. This will prevent the graphic pieces from unintentionally being stretched and adhering. to the other pieces of the graphic during installation. It can still be applied in warm weather and direct sunlight, but be extra careful to not stretch it vertically as this can cause the graphic pieces to not line up properly. This is just for the application. After it is applied, your graphic will not have any issues in sunlight, any weather conditions, or even automatic car washes.
What You Will Need: • Rapid Tac or Water + Dish or Baby Soap • Microfiber Cloth • Squeegee with soft edge (included with your purchase) • Blade (snap-blade included) • Heat Gun or Hair Dryer (optional)
Steps:
1. Clean the area with Rapid Tac or water, dish or baby soap, and isopropyl alcohol. Dry with a lint-free microfiber cloth.
2. Spray the surface with Rapid Tac or soap+water for the wet application.
3. Remove the graphic from the backing and slide it into place where you would like it on the bed. Tip: Leave enough material overhanging on the top and bottom to trim the excess.
4. Use the soft edge of your squeegee to press the graphic down and push the wet solution out. Tip: Use light pressure at first to avoid moving the graphic out of place.
5. Use the hard side of your squeegee to push the graphic into the edge between the rear panel and the plastic trim.
6. Use your blade to trim the excess material on the top and bottom. Trim on the plastic trim and not on your vehicle's paint. Tip: Use light pressure when trimming as the blade is sharp.
7. (Optional) Warm up the material at the top and bottom with your hair dryer or heat gun to create a stronger bond.
Steps:
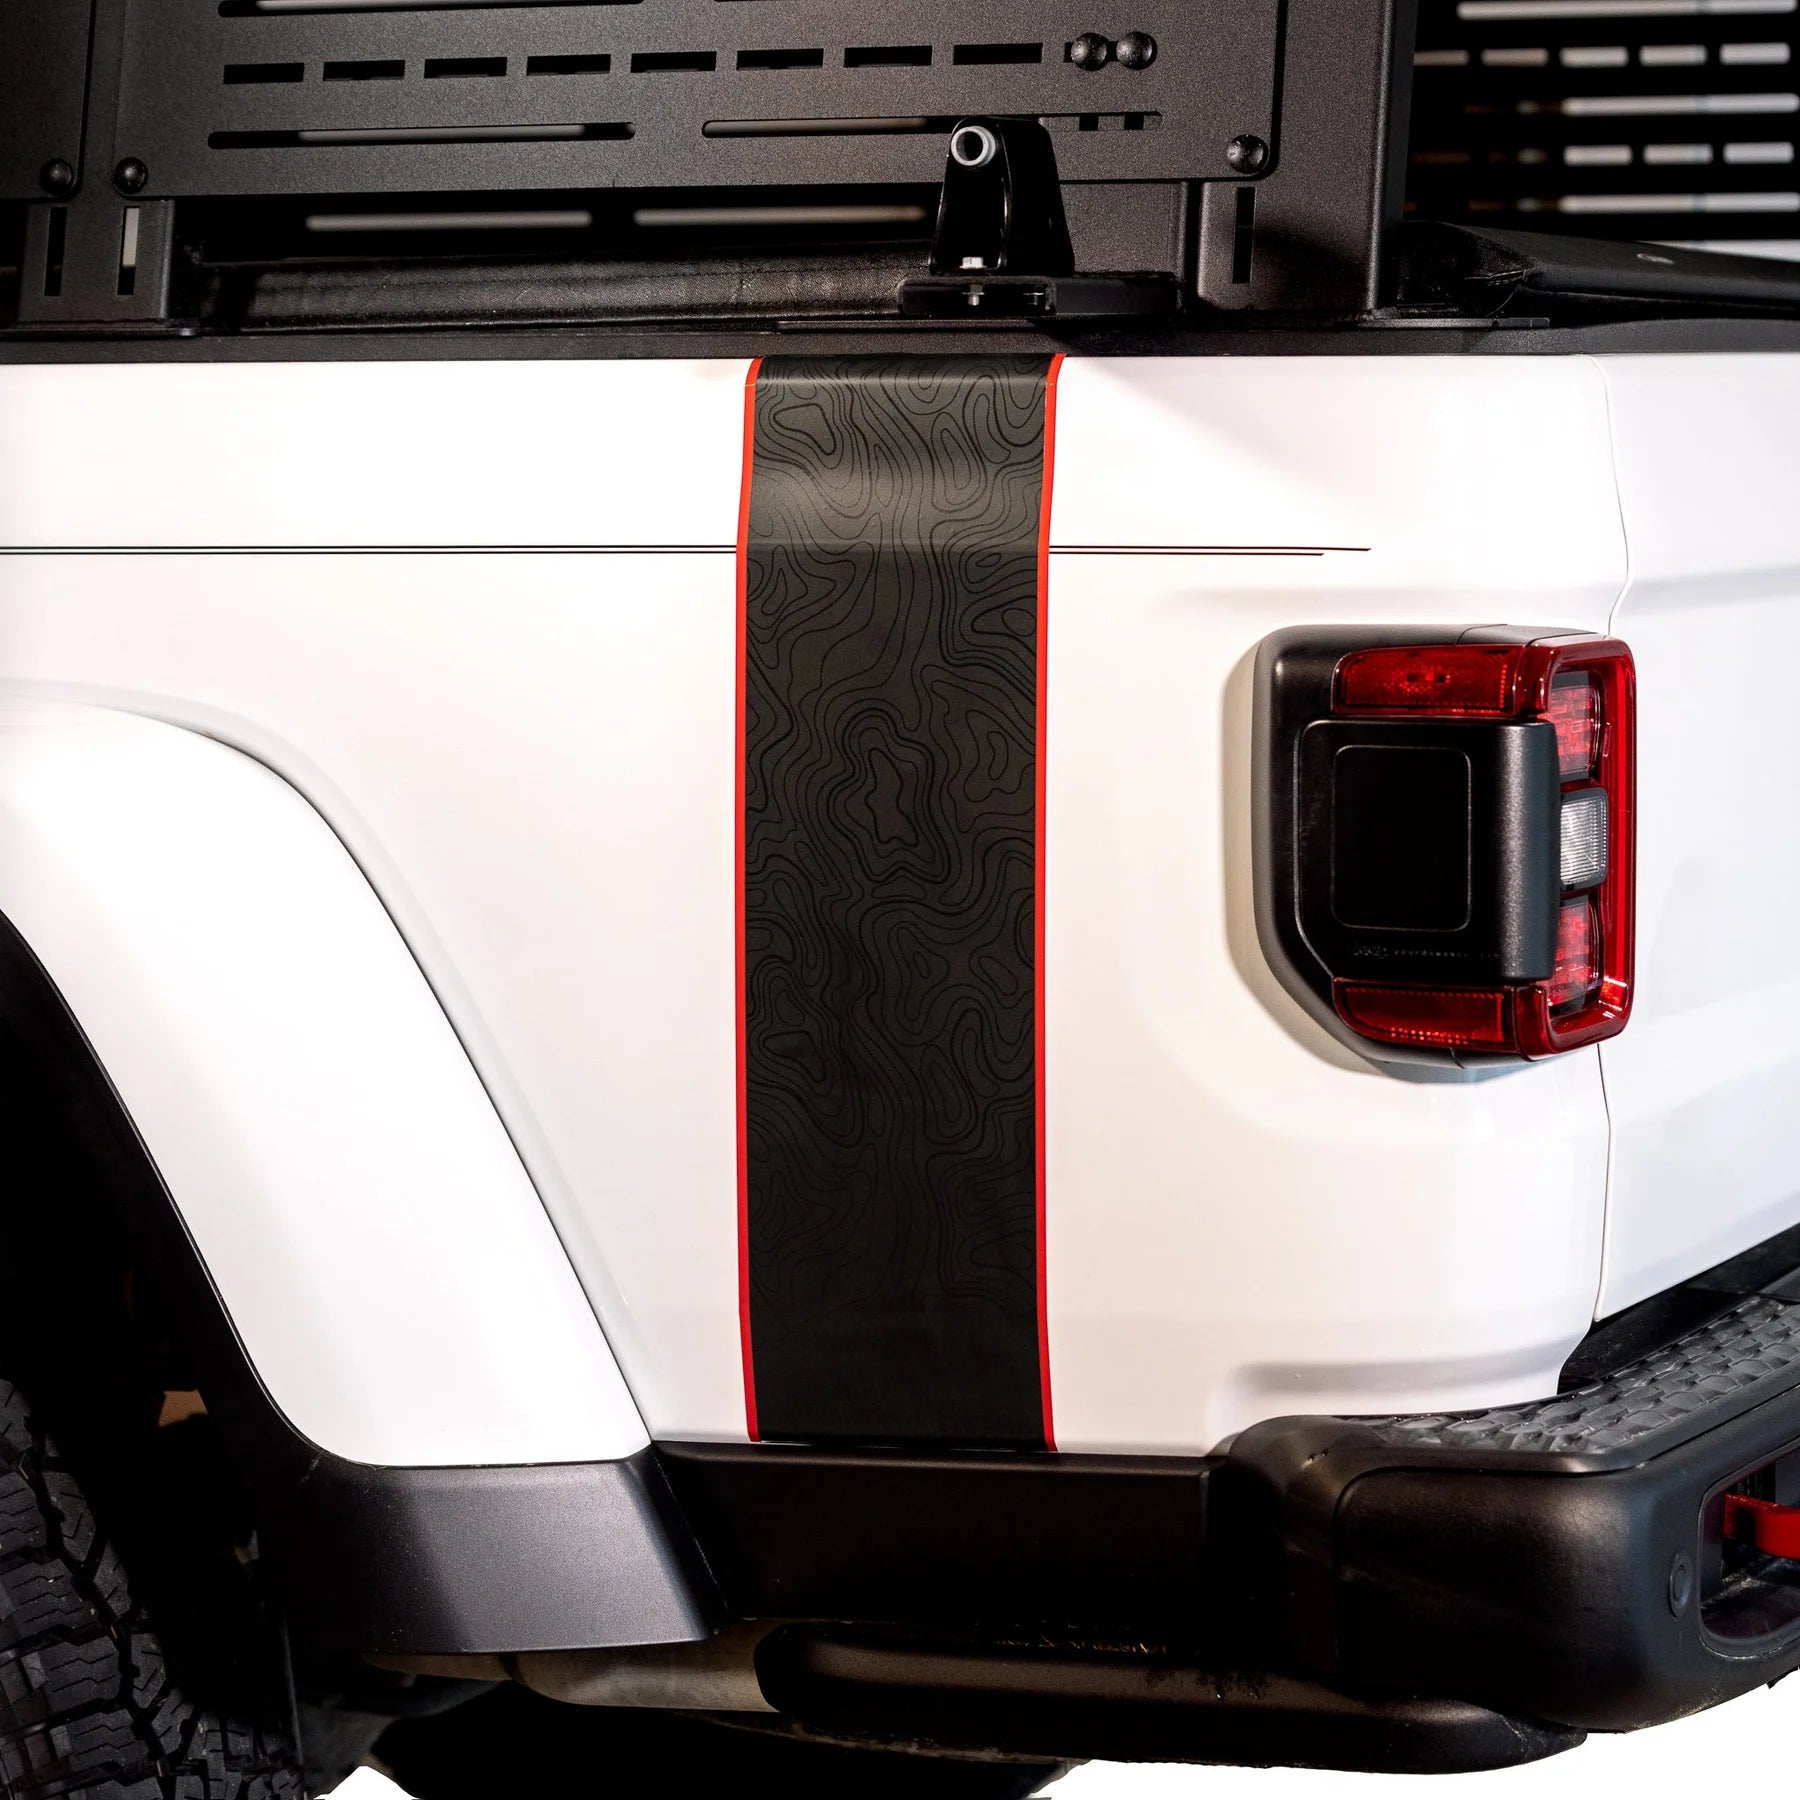
BEDSIDE STRIPE FOR JTWet Install
* Minimum application temperature +40°F * Applied decal temperature range -40°F to +180°F
*Please read the application instructions or watch the video through before beginning to apply your graphic so that you get it applied just how you want it. It is recommended to apply this graphic in a climate controlled environment or in the shade and cool weather if a climate controlled environment is not available. This will prevent the graphic pieces from unintentionally being stretched and adhering. to the other pieces of the graphic during installation. It can still be applied in warm weather and direct sunlight, but be extra careful to not stretch it vertically as this can cause the graphic pieces to not line up properly. This is just for the application. After it is applied, your graphic will not have any issues in sunlight, any weather conditions, or even automatic car washes.
What You Will Need: • Rapid Tac or Water + Dish or Baby Soap • Microfiber Cloth • Squeegee with soft edge (included with your purchase) • Masking Tape • Heat Gun or Hair Dryer
Steps:
1. Clean the area with water, dish or baby soap, and isopropyl alcohol. Dry with a lint-free microfiber cloth. In addition to the outside surface on and between the doors, clean around the edge of the door, under the rubber trim, and on the sides of the B Pillar between the doors since. the graphic will be covering these areas.
2. Tape a straight line above the rubber trim as a guide for the three pieces. Align the bottom edge of the tape with the top of the rubber trim.
3. Cut the tape between the doors and B Pillar with a blade so you can open the doors without removing the tape.
4. Roll down your windows to make the following steps easier in pulling the rubber trim back.
5. Start with the driver or passenger side door pieces. The pieces are labeled on the paper backing so you will know which piece corresponds to each placement.
6. Align the top edge with the bottom edge of the masking tape, leave about 1/8" - 1/4" of material over-hanging the edge of the door to wrap around the edge later.
7. Use the soft edge of your squeegee to apply the graphic from top to bottom while using your other hand to hold the bottom of the graphic. Avoid pulling down on the material and stretching it vertically.
8. Work your way from the edge of the door towards the window and peel back the rubber trim to apply the graphic underneath it. TIP: You may find it easier to use your finger to press the graphic down around and under the rubber trim instead of using. the squeegee.
9. Use a little bit of heat from. a heat gun or hair dryer to apply the graphic around the edge of your door. A little heat goes a long way with this.
10. Follow Steps 6-9 for the other door piece on the same side of your vehicle.
11. Apply the middle piece by aligning the top edge with the bottom of the masking tape or with the top of each of the door graphics and leave about 1/2" on each side of the B-Pillar. Tack the top edge by pressing it down and use your squeegee to lay the graphic down the pillar. Avoid pulling down on the bottom of the graphic as this can stretch it vertically in sunlight or warmer weather. TIP: If you are applying this in warmer weather. orin sunlight, you may find it helpful to open the doors before applying this middle piece to avoid the graphic sticking to the doors when you open them in the next step.
12. Open the doors and apply the graphic onto the sides of the B Pillar.
13. Remove the masking tape and repeat on the other side of your vehicle.
Steps:
WINDOW DECALSWet Install
* Minimum application temperature +40°F * Applied decal temperature range -40°F to +180°F
What You Will Need: • Rapid Tac or Water + Dish or Baby Soap • Microfiber Cloth • Squeegee with soft edge (included with your purchase) • Masking Tape
Steps:
1. Unroll the graphic and lay it flat.
2. Clean the window thoroughly with Rapid Tac or warm soapy water and dry with a lint-free cloth.
3. Before removing the plastic backing, place the decal in the desired position by using pieces of masking tape or any other strong tape that won’t leave a residue at the top center and bottom center of the graphic.
4. Peel the vinyl graphic away from the paper backing. Once you have peeled back about half of the decal, cut the plastic backing off and discard it.
5. Spray the exposed glass and adhesive side of the graphic with Rapid Tac or your mixture of soapy water. Using the included squeegee, apply the half of the graphic that has been pulled back by starting at the middle and working towards the end while applying medium pressure as you lay the graphic down. Take your time with this and keep tension on the graphic to avoid it laying down before you want it to.
6. Repeat steps 4-5 for the other side of the window.
Steps:
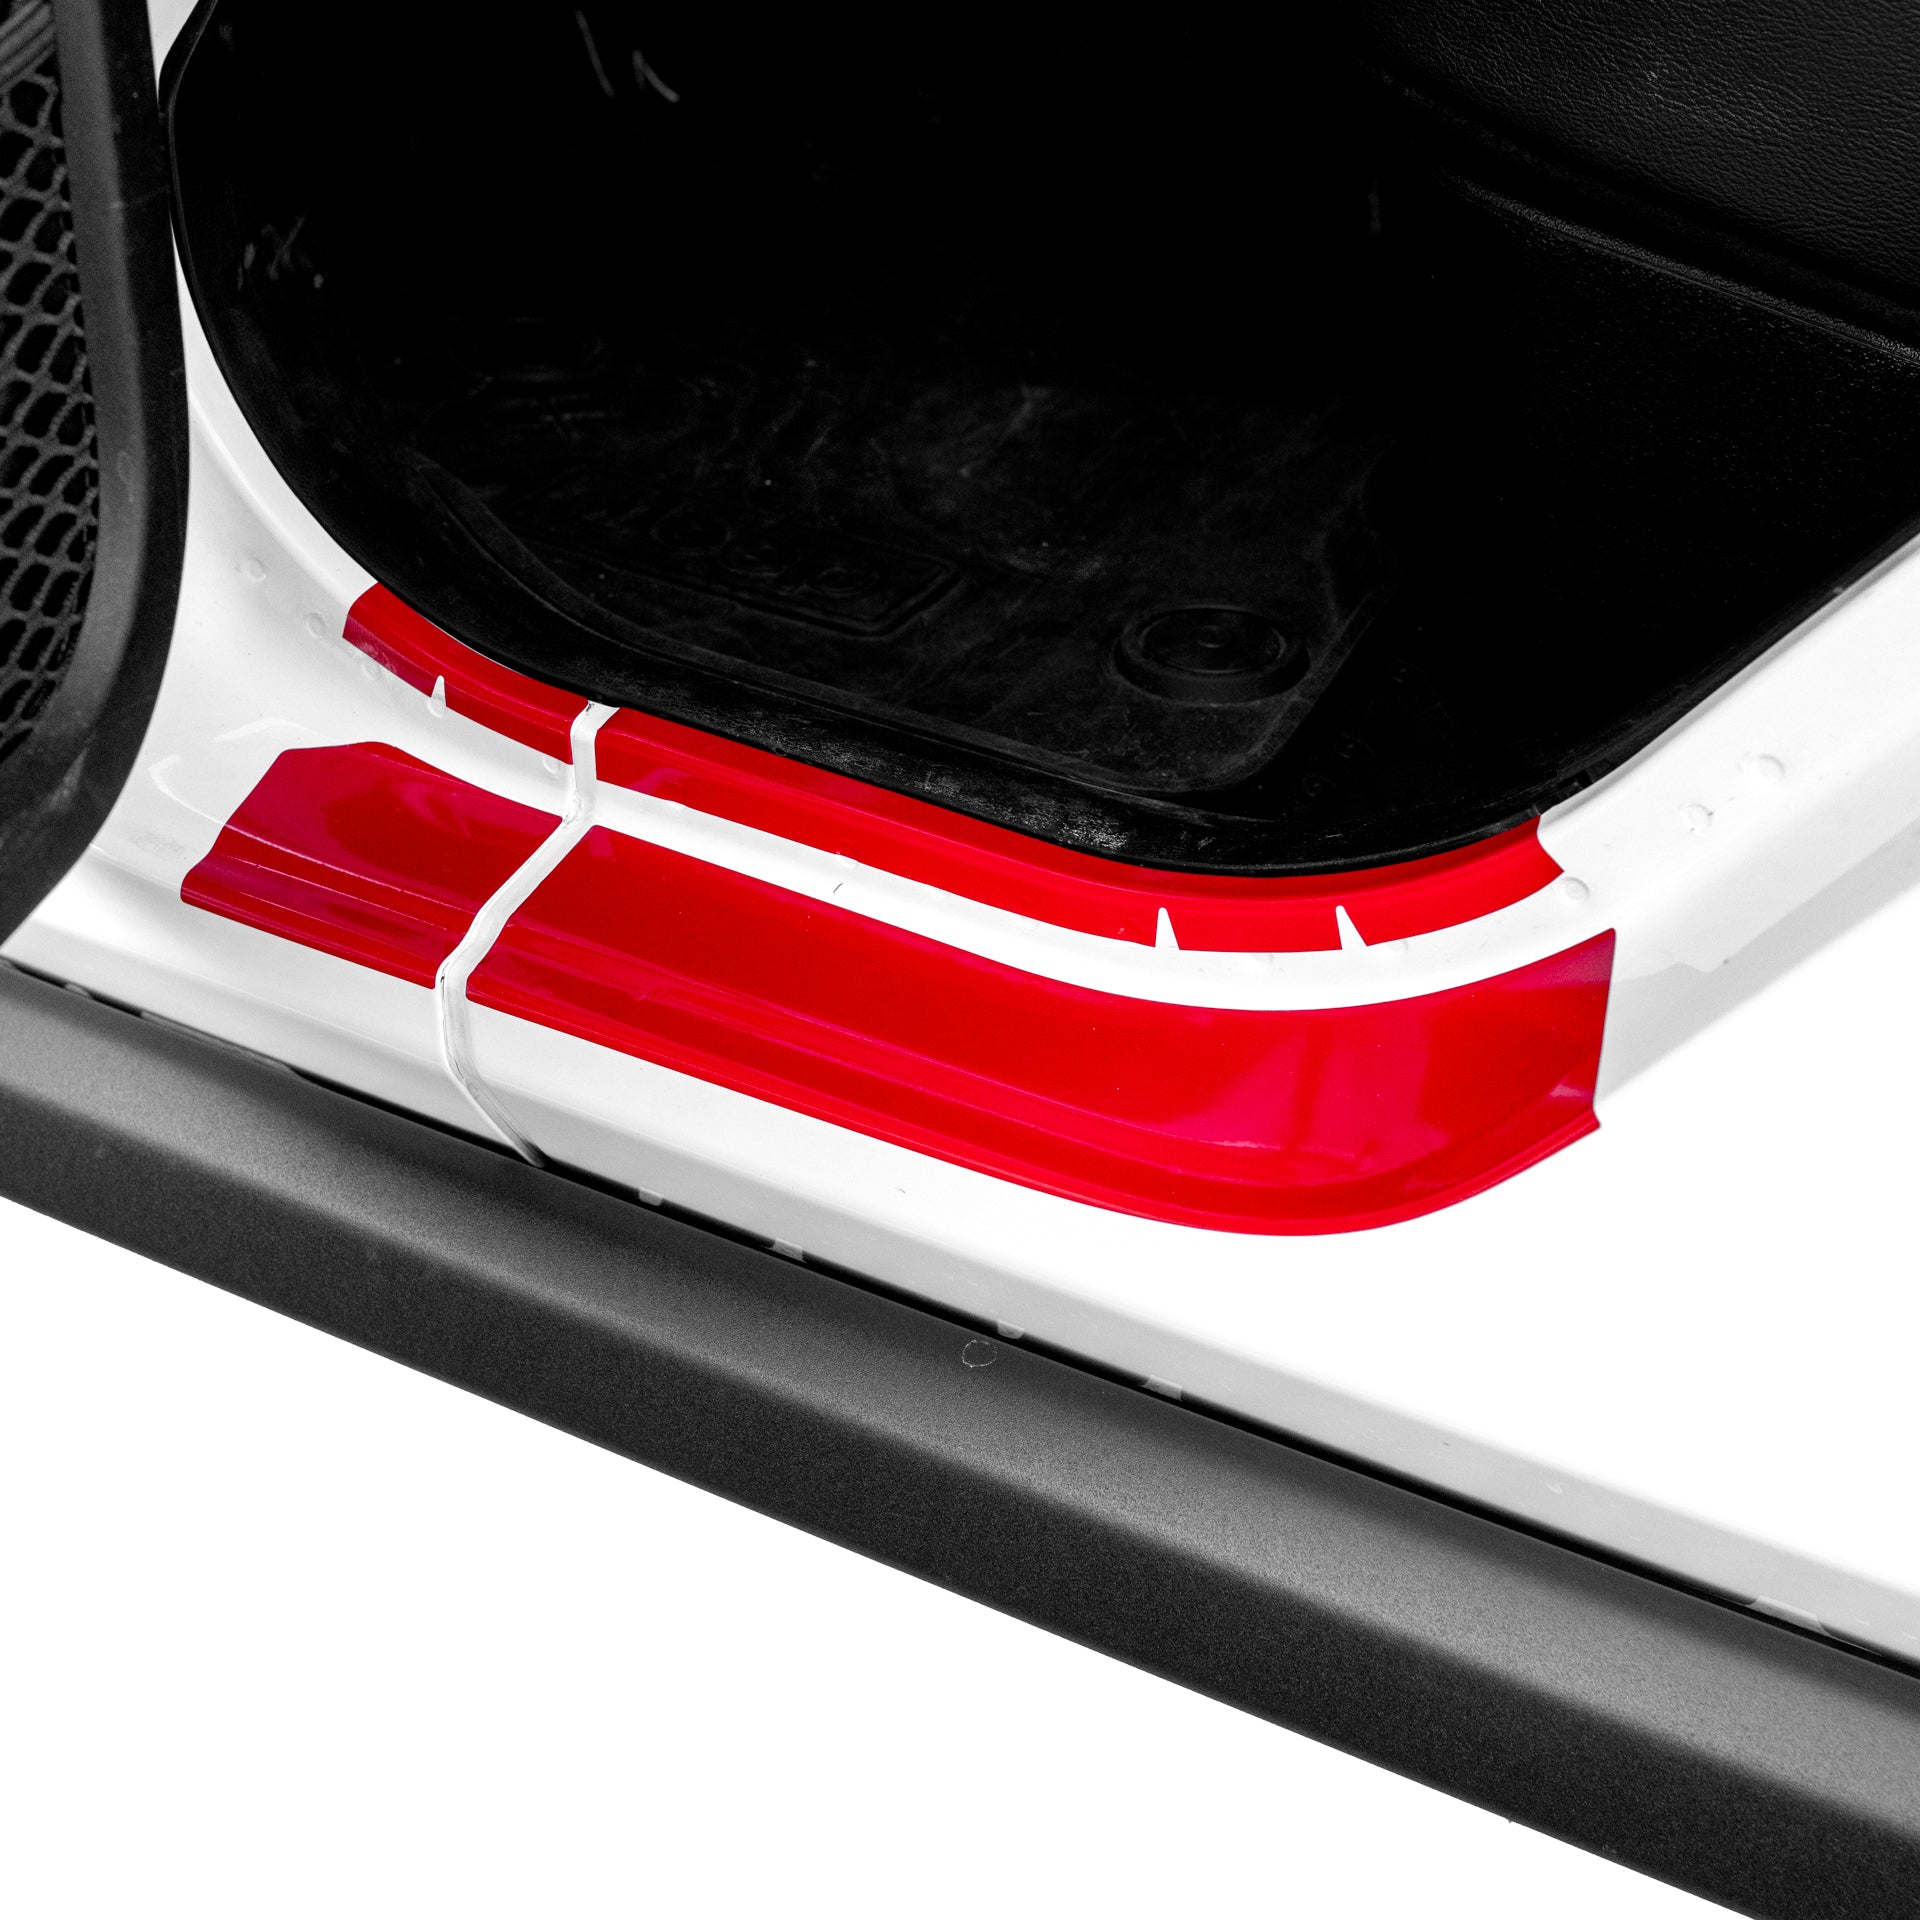
PAINT PROTECTION FILMDry Install
Video Instructions Coming Soon...
Video Instructions Coming Soon...
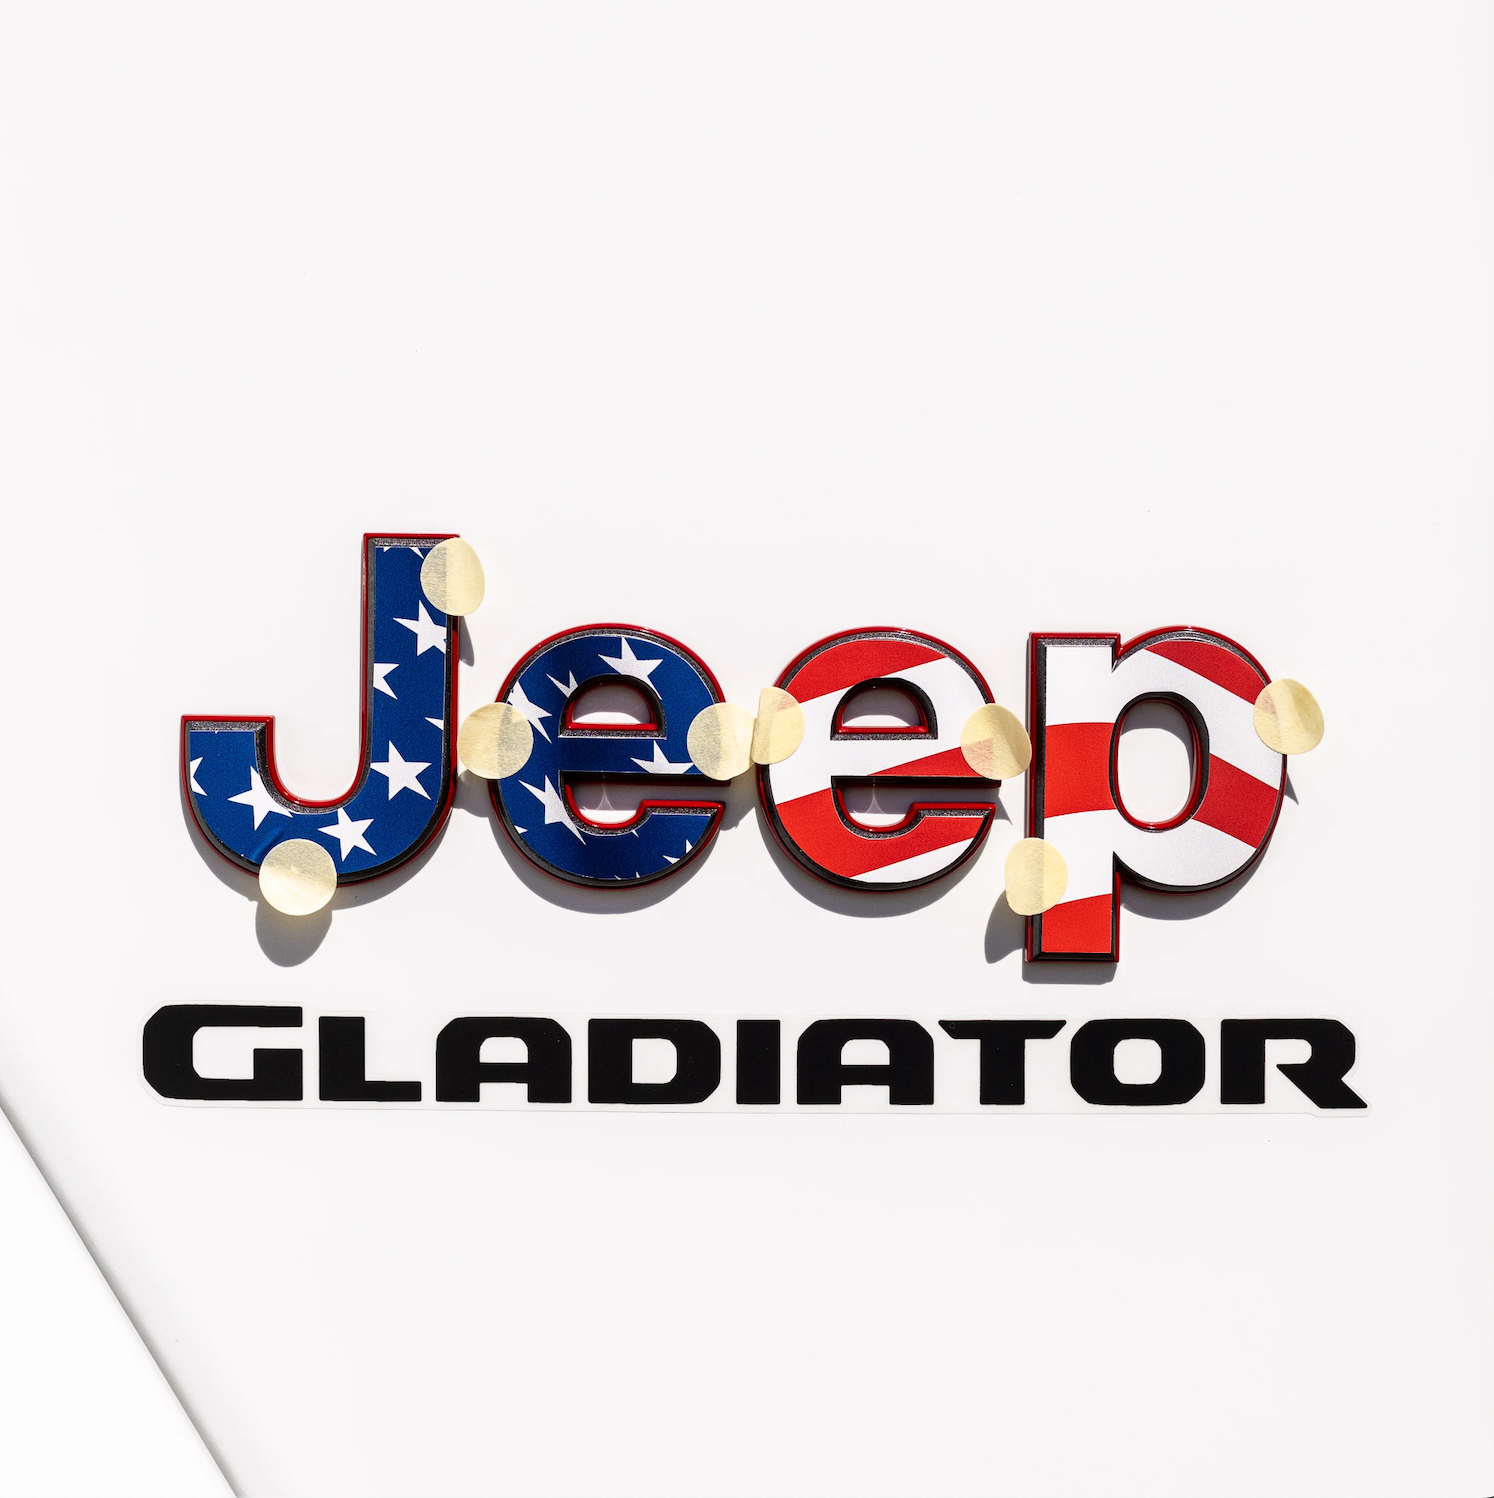
APPLICATION DOTSTransfer Tape Dots
* Minimum application temperature +40°F * Applied decal temperature range -40°F to +180°F
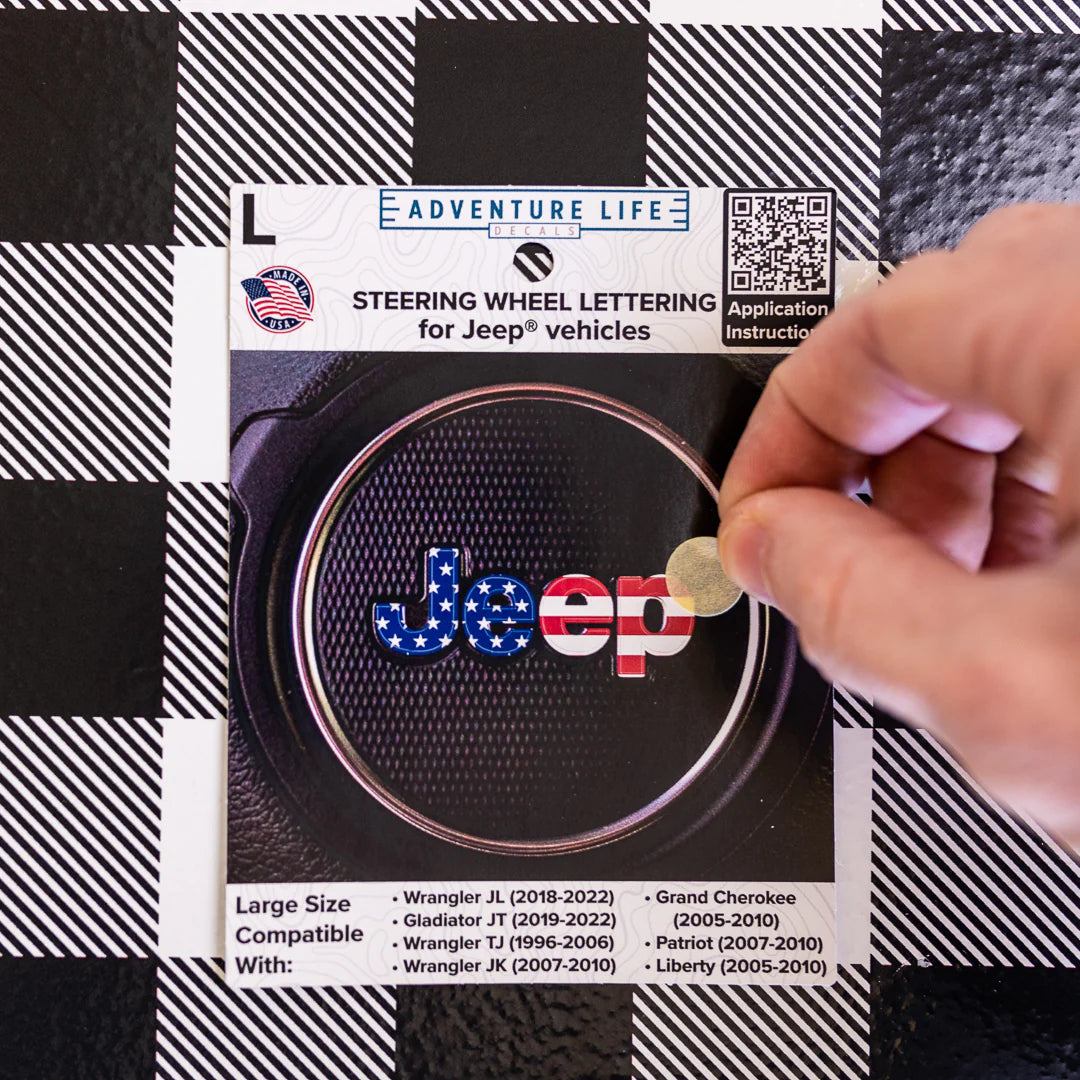
1. Apply an included application dot to a letter to start. Just on is needed for smaller pieces.
1. Apply an included application dot to a letter to start. Just on is needed for smaller pieces.
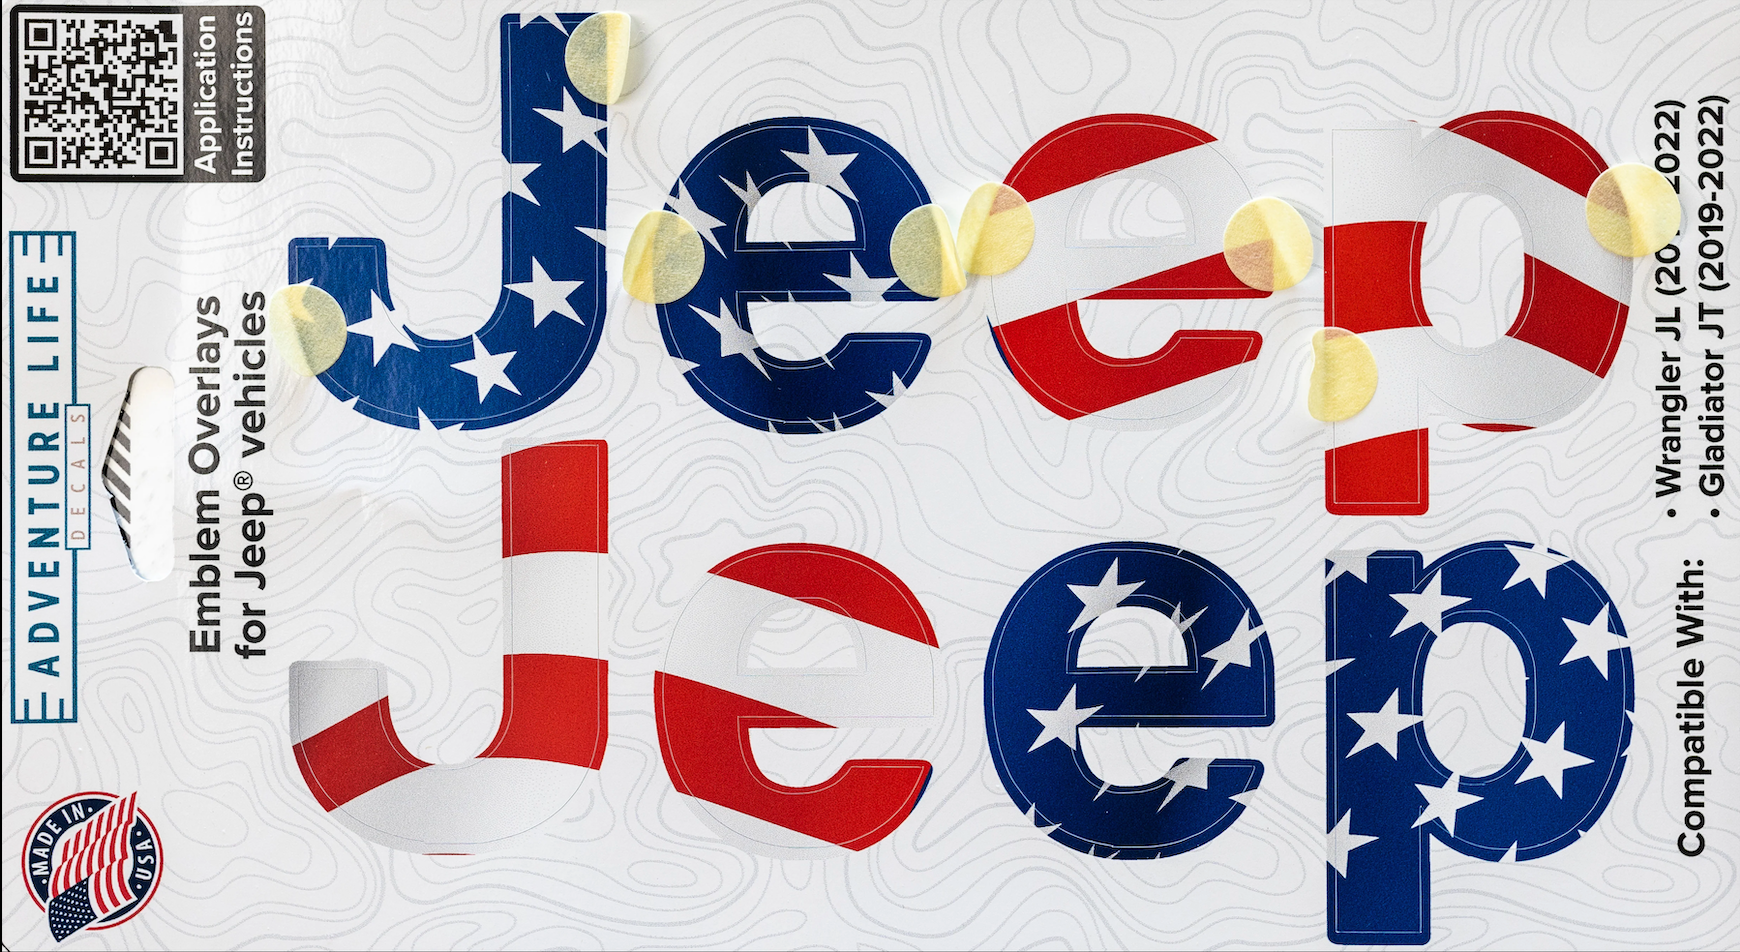
2. For larger letters, use two dots on each letter to control the decal better when applying.
2. For larger letters, use two dots on each letter to control the decal better when applying.
3. Lift the letter away from the card. If the letter does not lift with the dot, press it down firmly and try again.
3. Lift the letter away from the card. If the letter does not lift with the dot, press it down firmly and try again.
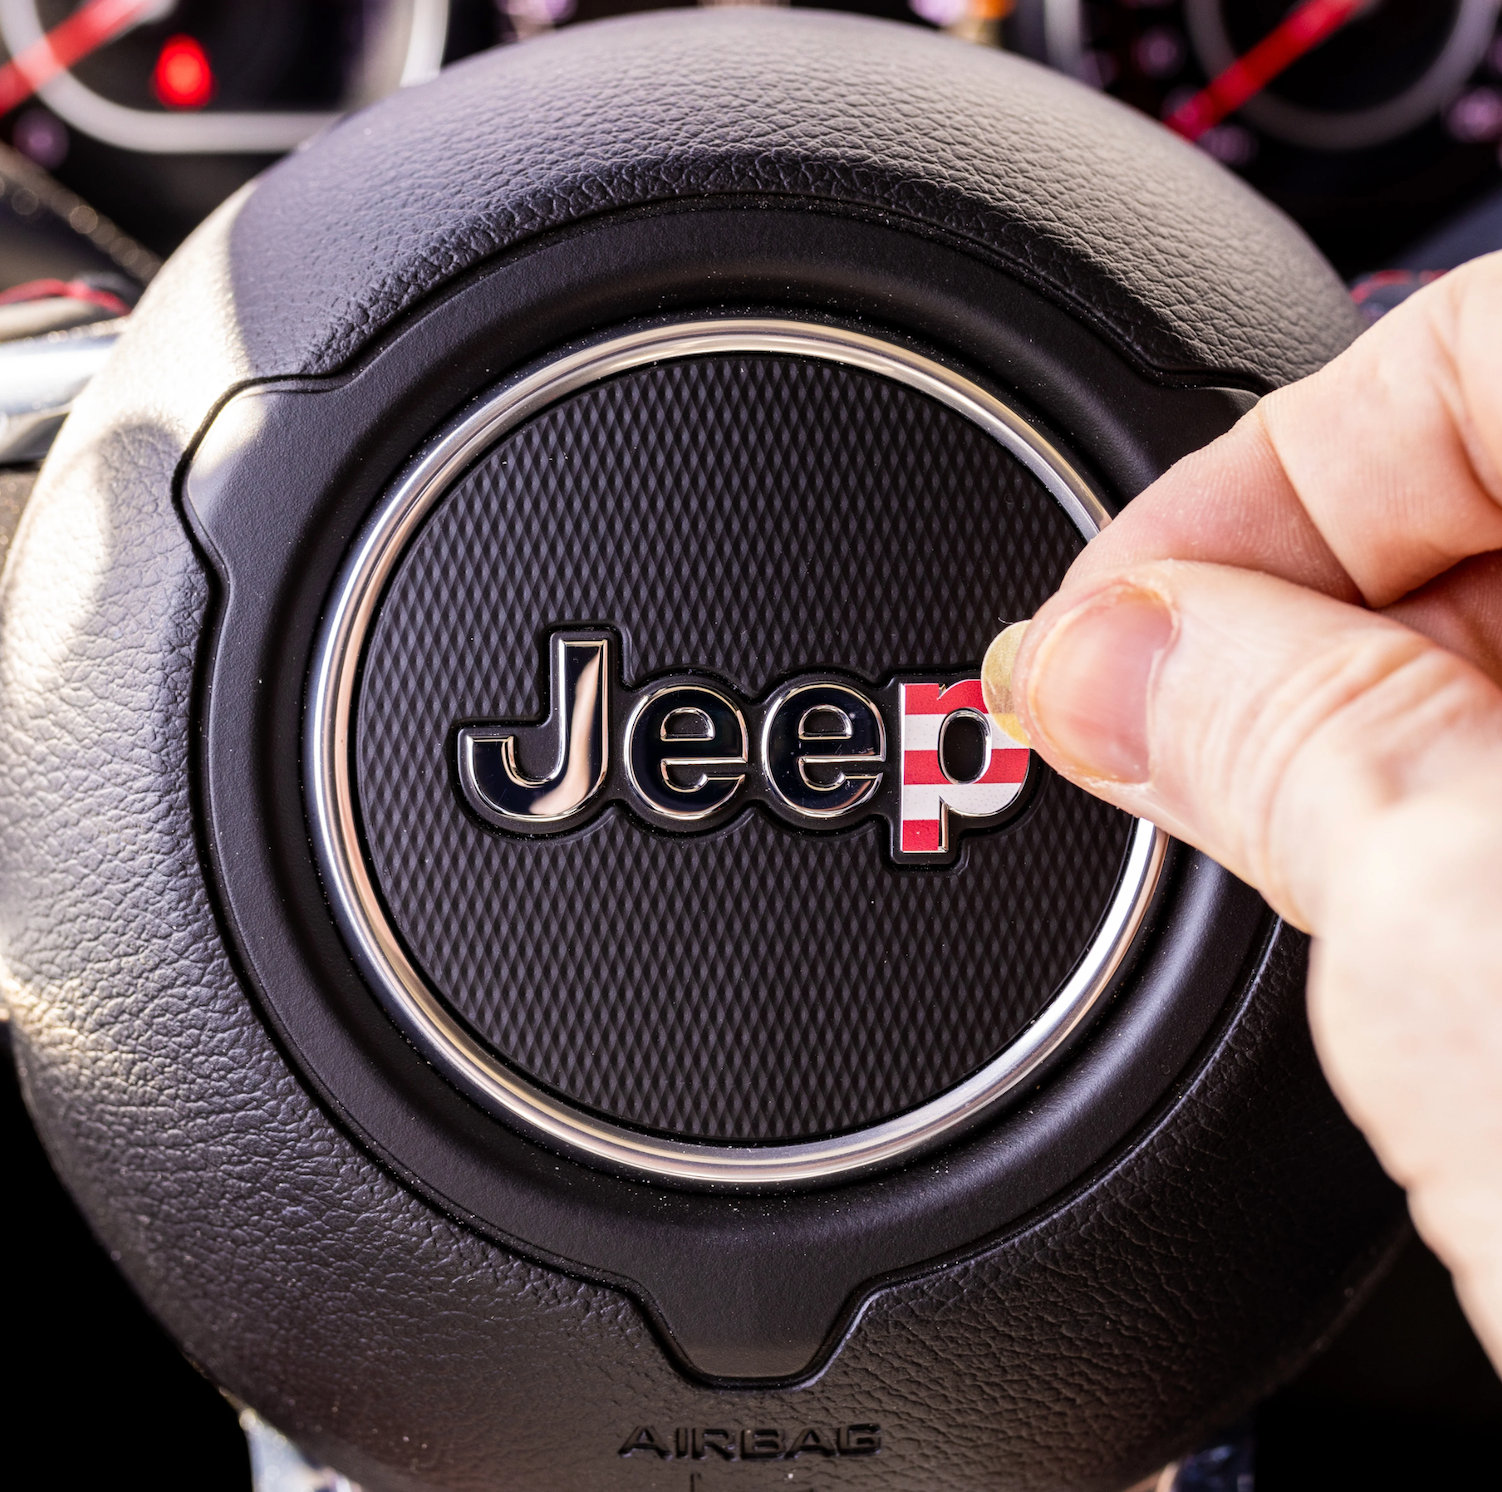
4. Align the decal with the emblem.
4. Align the decal with the emblem.
5. Apply the decal by pressing down firmly on it.
5. Apply the decal by pressing down firmly on it.
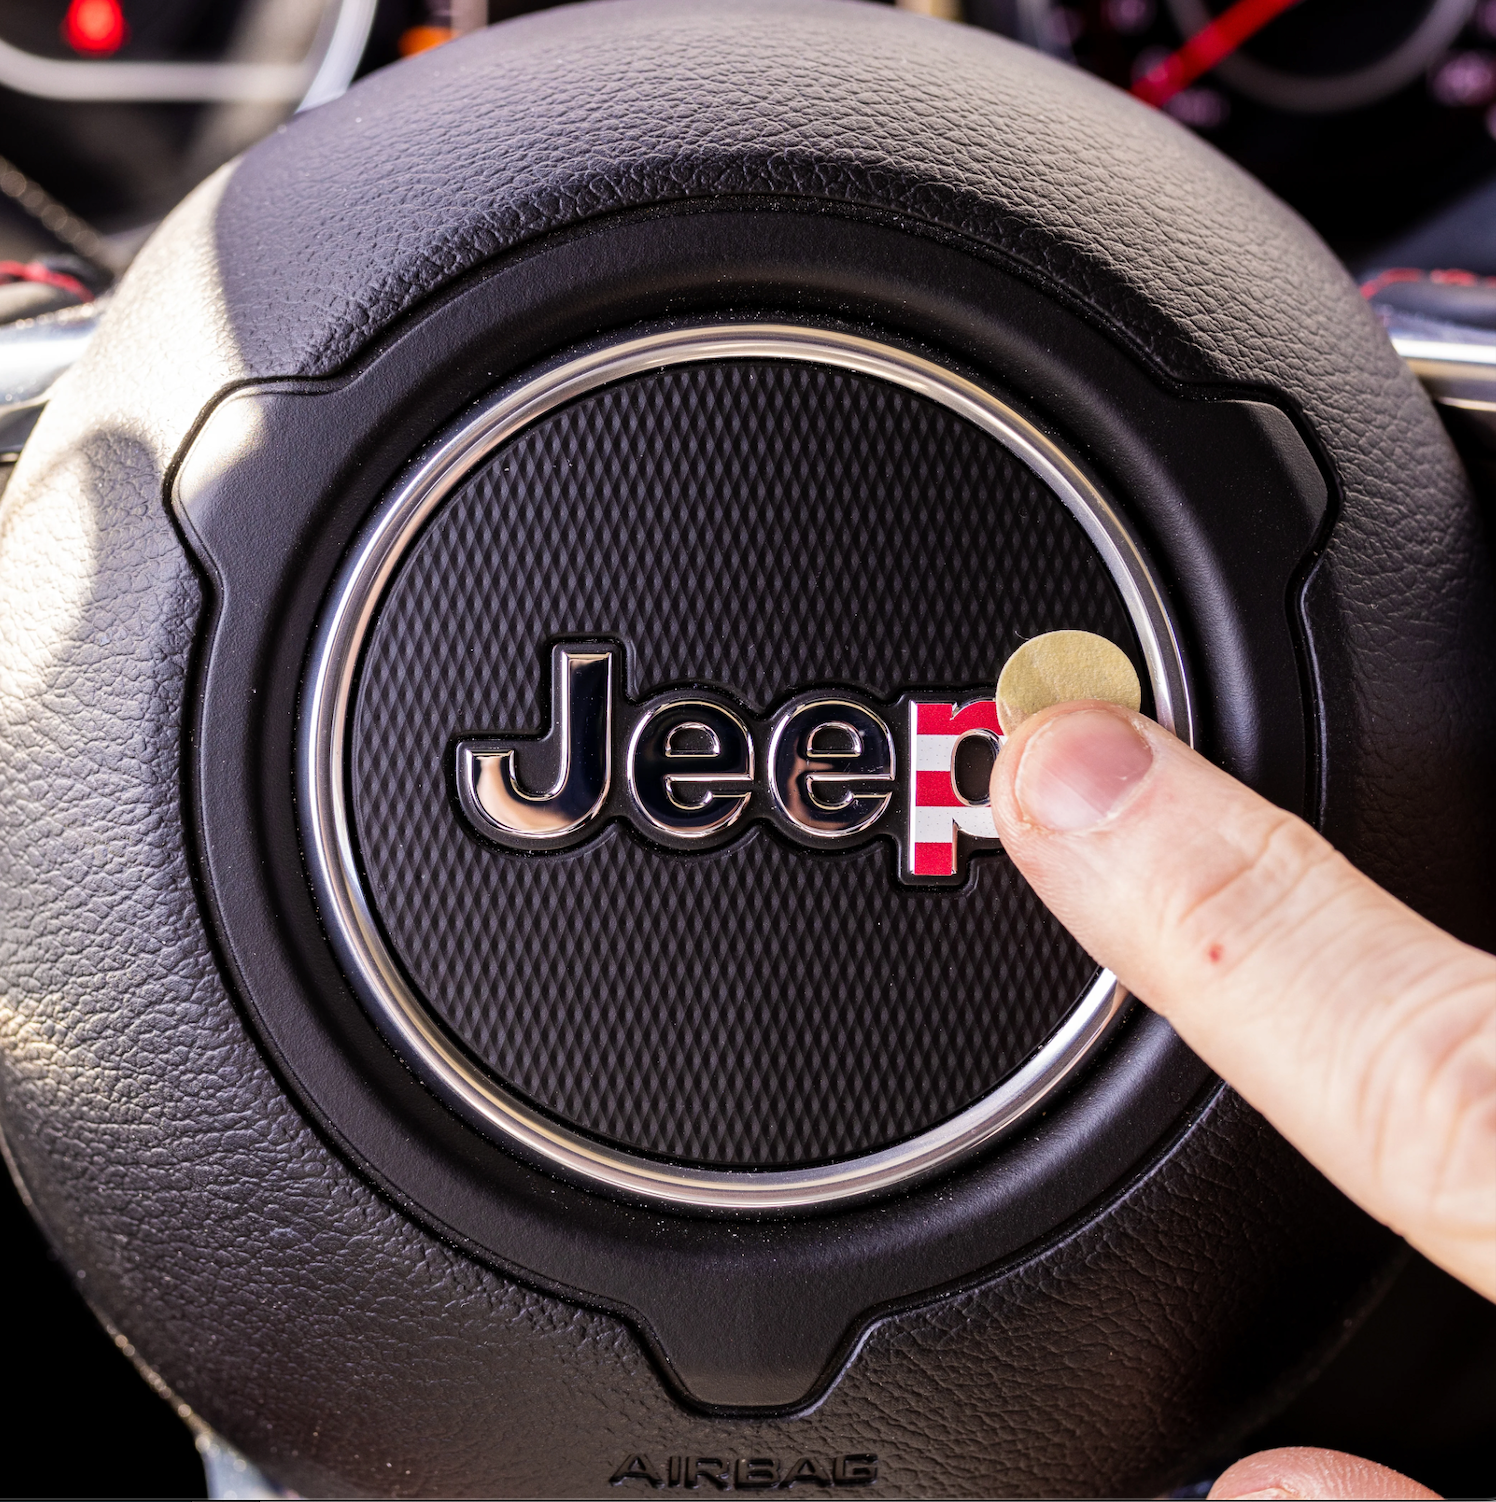
6. Remove the application dot(s).
6. Remove the application dot(s).

7. Repeat steps 1-6 for the remaining decals.
7. Repeat steps 1-6 for the remaining decals.